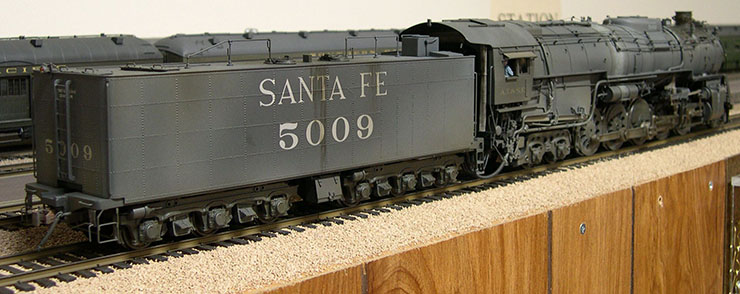
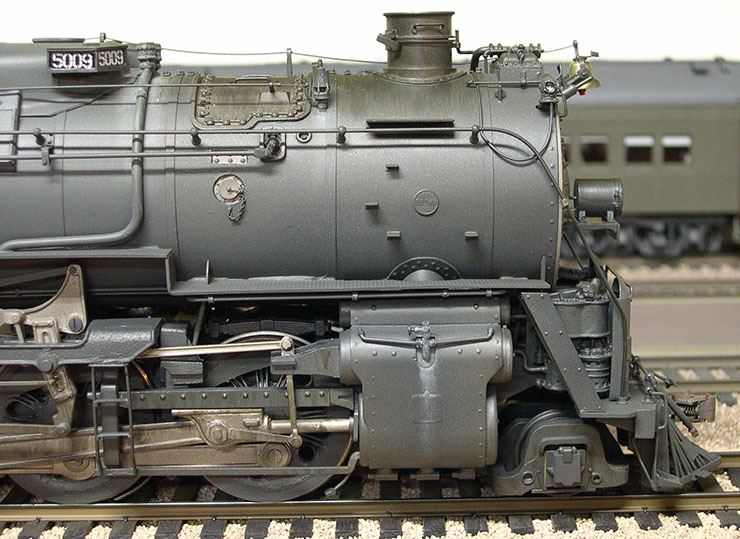
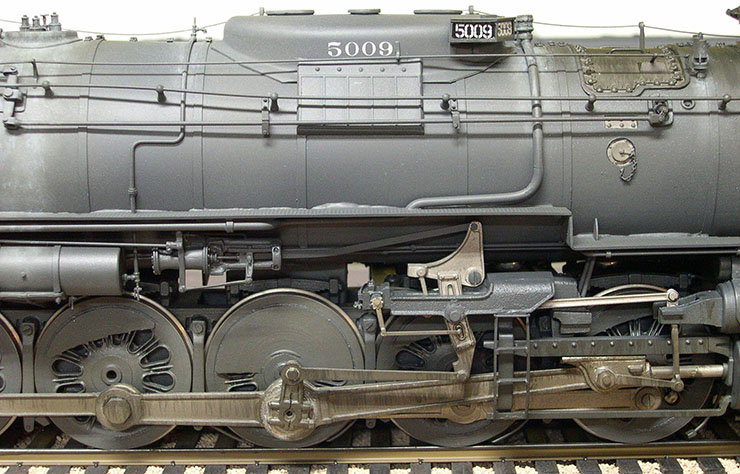
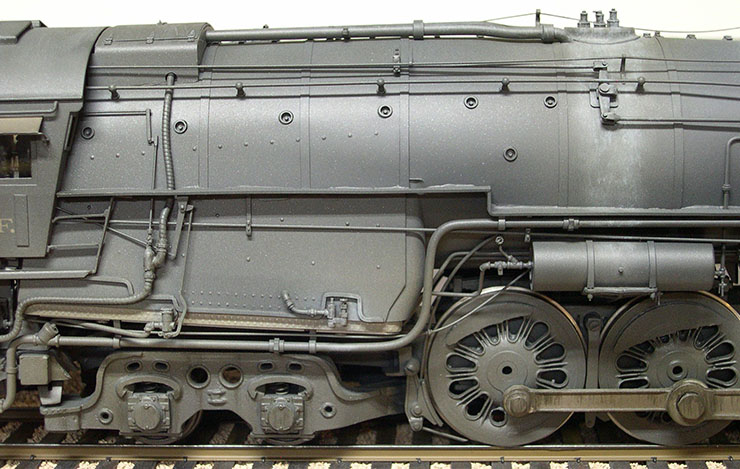
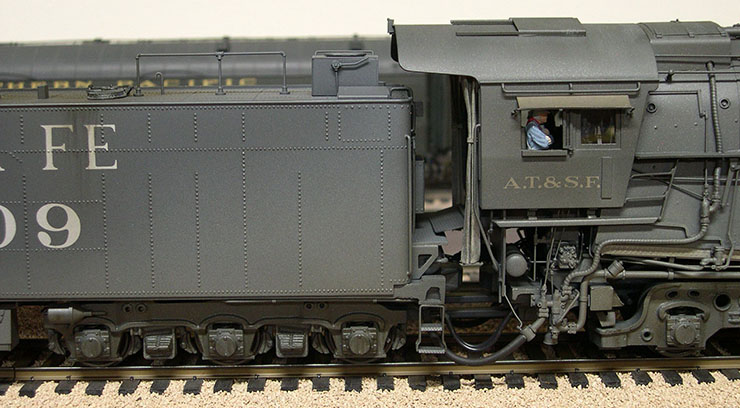
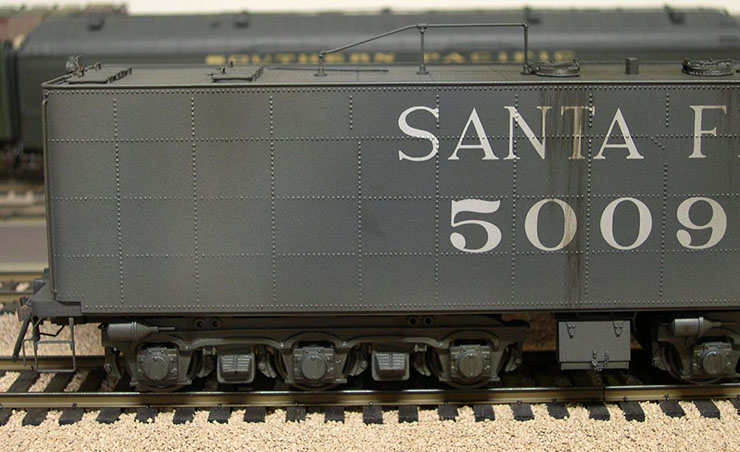
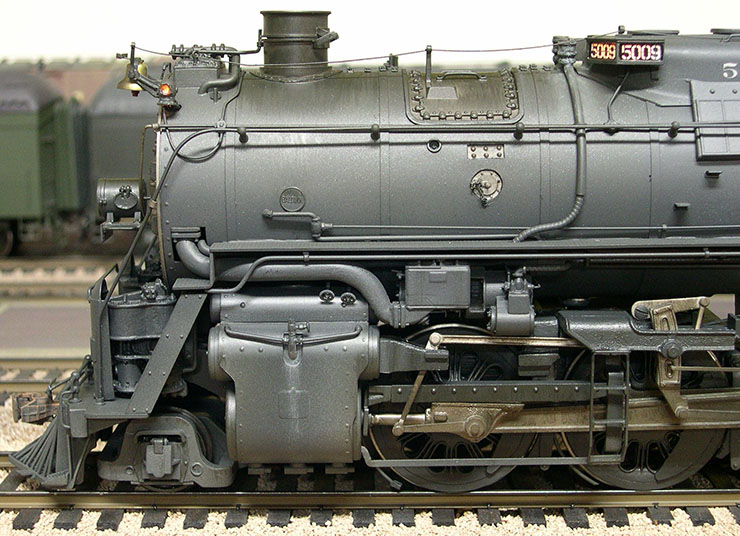
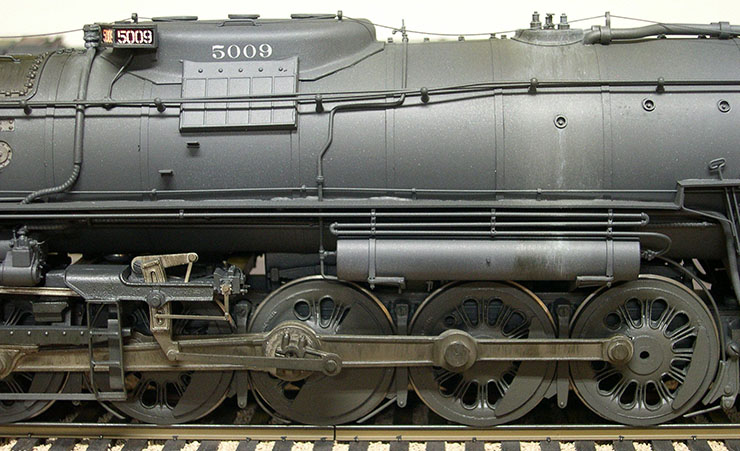
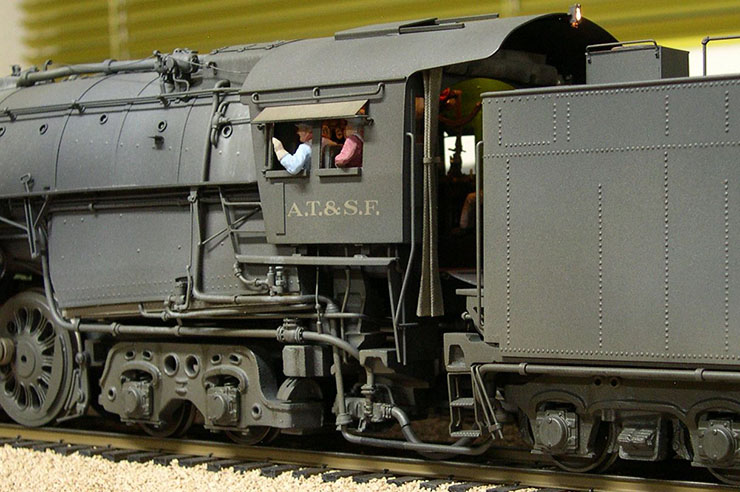
AT&SF Class 5001 Finished Loco 5009
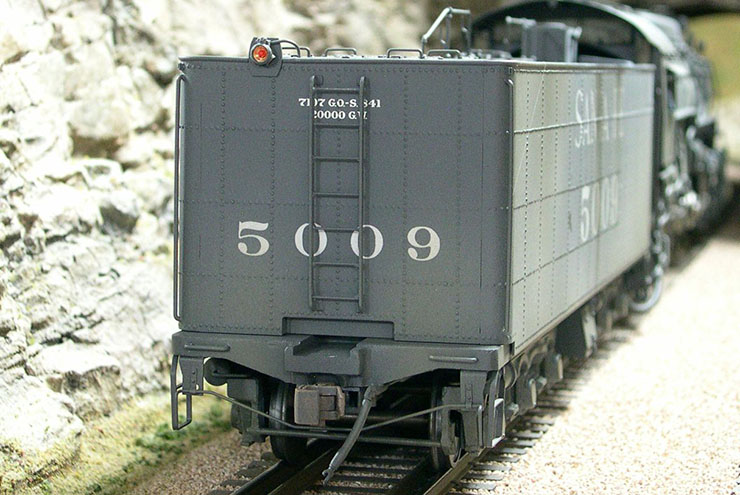
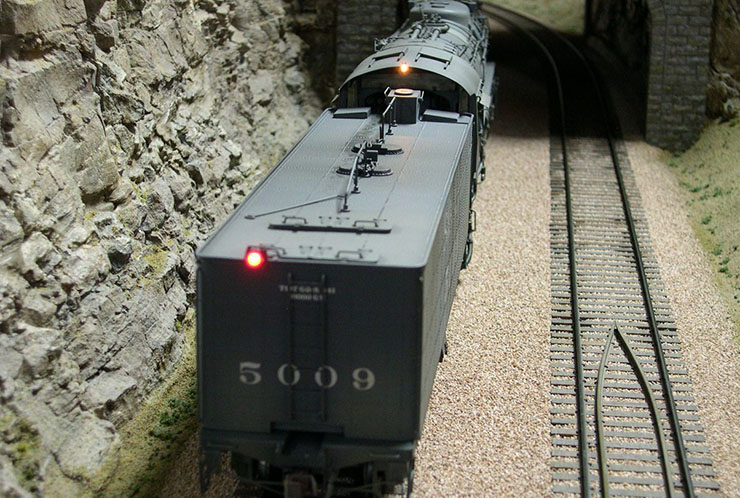
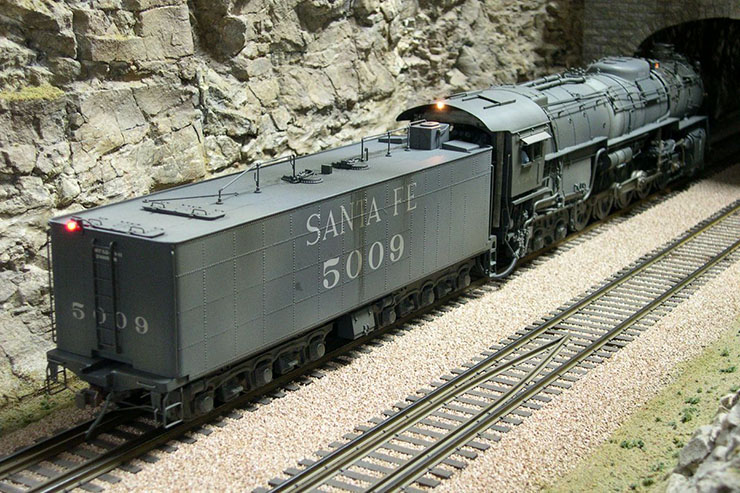
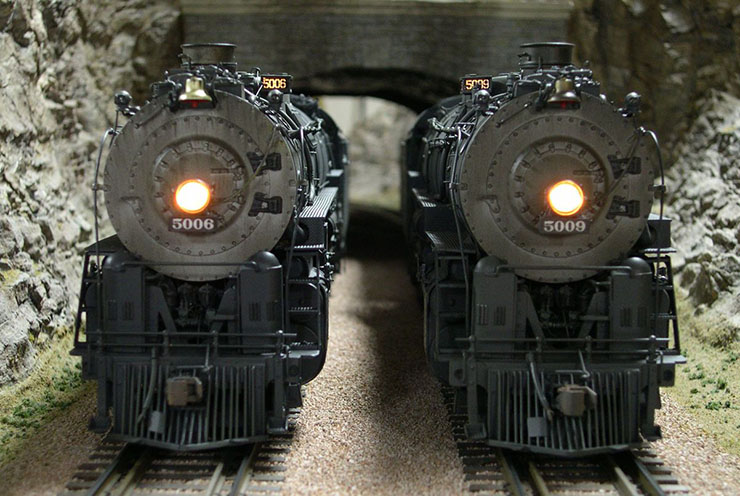
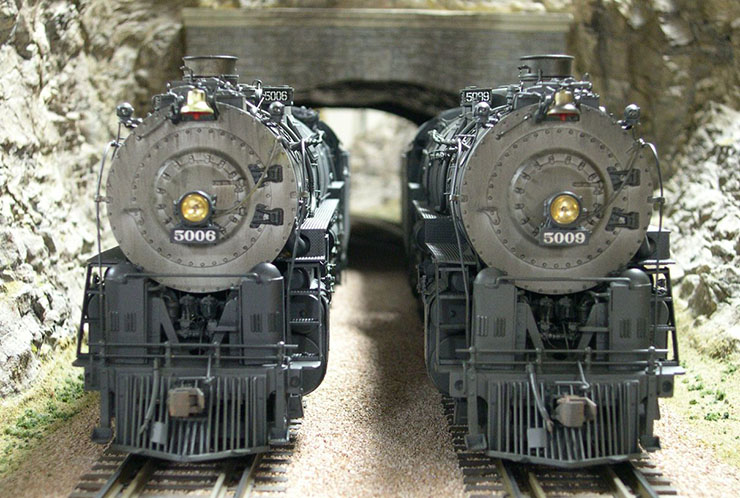
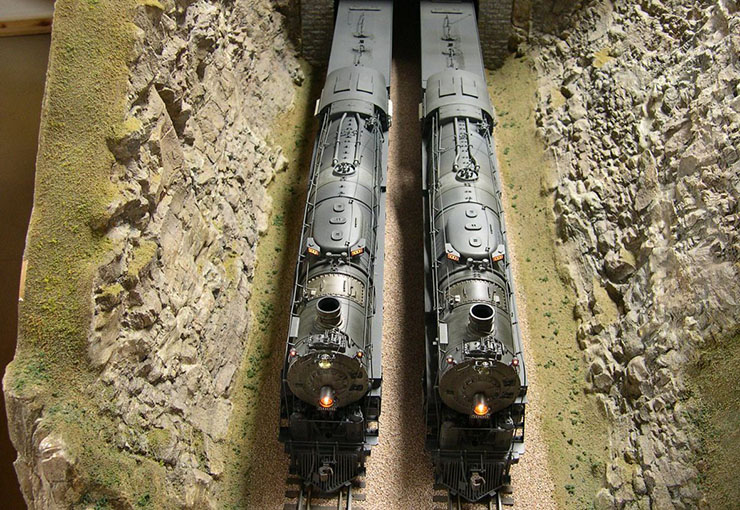
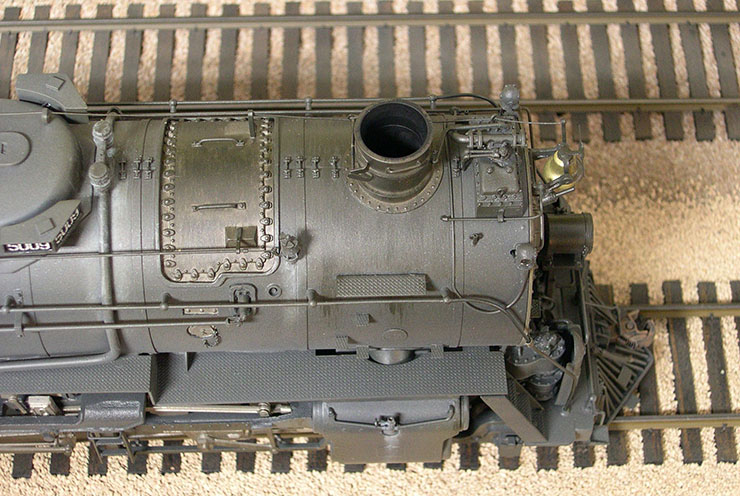
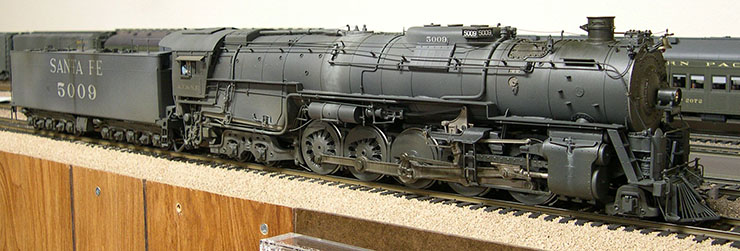
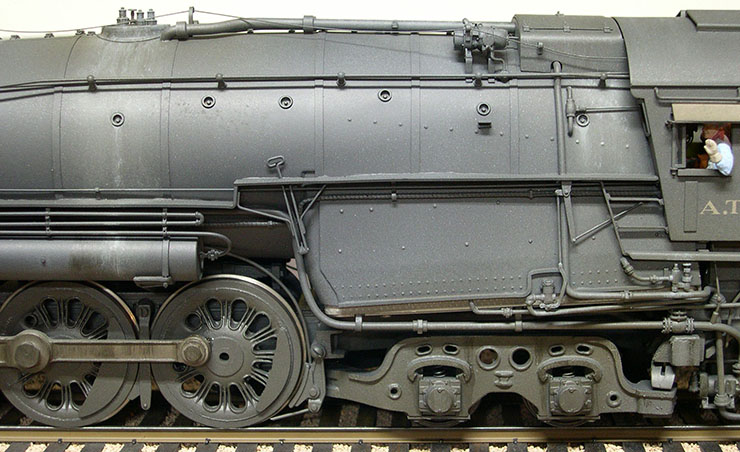
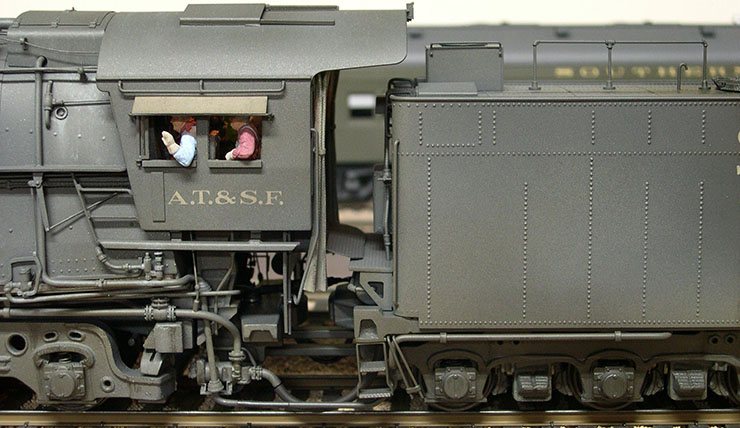
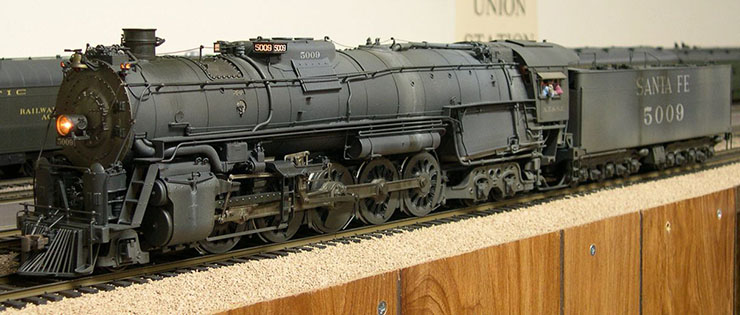
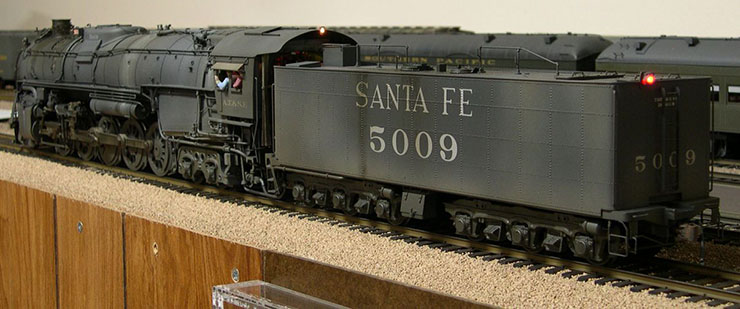
The 2nd of the 2-10-4s is finally finished. The completion of 5009 marks the end of this very extended series of essays. There are 24 photos attached showing 5009 in its completed state. I did it in a slightly more faded and dirtier condition than 5006. I sometimes feel like I need to wash my hands after touching it. I was apparently a little off my feed taking these photos, as a few are not focused as well as they should be. Additionally, my camera was lying about what it was actually focusing on in some cases. Those photos did not turn out well at all. Not the first time I have had it tell falsehoods. Oh well, 24 photos are enough anyway. As with the 5006 photos, I have left some of them at full resolution, so you can zoom in for more detail.
AT&SF 5009 1 ⤵
AT&SF 5009 2 ⤵
AT&SF 5009 3 ⤵
AT&SF 5009 4 ⤵
AT&SF 5009 5 ⤵
AT&SF 5009 6 ⤵
AT&SF 5009 7 ⤵
AT&SF 5009 8 ⤵
AT&SF 5009 9 ⤵
AT&SF 5009 10 ⤵
AT&SF 5009 12 ⤵
AT&SF 5009 13 ⤵
AT&SF 5009 14 ⤵
AT&SF 5009 15 ⤵
AT&SF 5009 17 ⤵
AT&SF 5009 18 ⤵
AT&SF 5009 19 ⤵
AT&SF 5009 20 ⤵
AT&SF 5009 21 ⤵
AT&SF 5009 22 ⤵
AT&SF 5009 23 ⤵
AT&SF 5009 24 ⤵
I ran into a strange problem when programming the QSI sound decoder for 5009. I had assumed I could just copy the 5006 program over into it and be done. Not so. I could not get any response from the decoder until I manually transferred all the settings. Even then, one of the “Features”, the Rear Cab Lights would not work on any port (number key). It took considerable troubleshooting to discover it was the feature that was not working, not the port. By choosing a different “Feature” and programming it to do the same thing, I was able to get the port to do what I wanted. Externally, the decoder behaves exactly like the one in 5006, although it requires a little higher volume settings to sound the same. That could be a slight variation in the speaker installation. Internally, part of the decoder does not work at all. In this particular case, the complexity of the QSI decoder allowed me to come up with a “work around” that avoided the delay of sending back a defective decoder. However, someone not really expert at computers and electronics would never have found out why the original programming did not work.
For those interested in such things, it was right at 14 months ago that I sent out part 1 of this photo essay. Of course, a lot of things intervened, and I was not able to work continuously on the 5001s. Guesstimating the actual time spent, I would say about 7-8 months were spent over all. Definitely, the longest and most detailed of any brass loco project I have done. It was well worth it. I am very pleased with the end products. As I get a chance, I will do a You Tube video so you can see and hear how they run. For now, back to more rational projects.
