AT&SF Class 5001 Paint 4 – Wiring
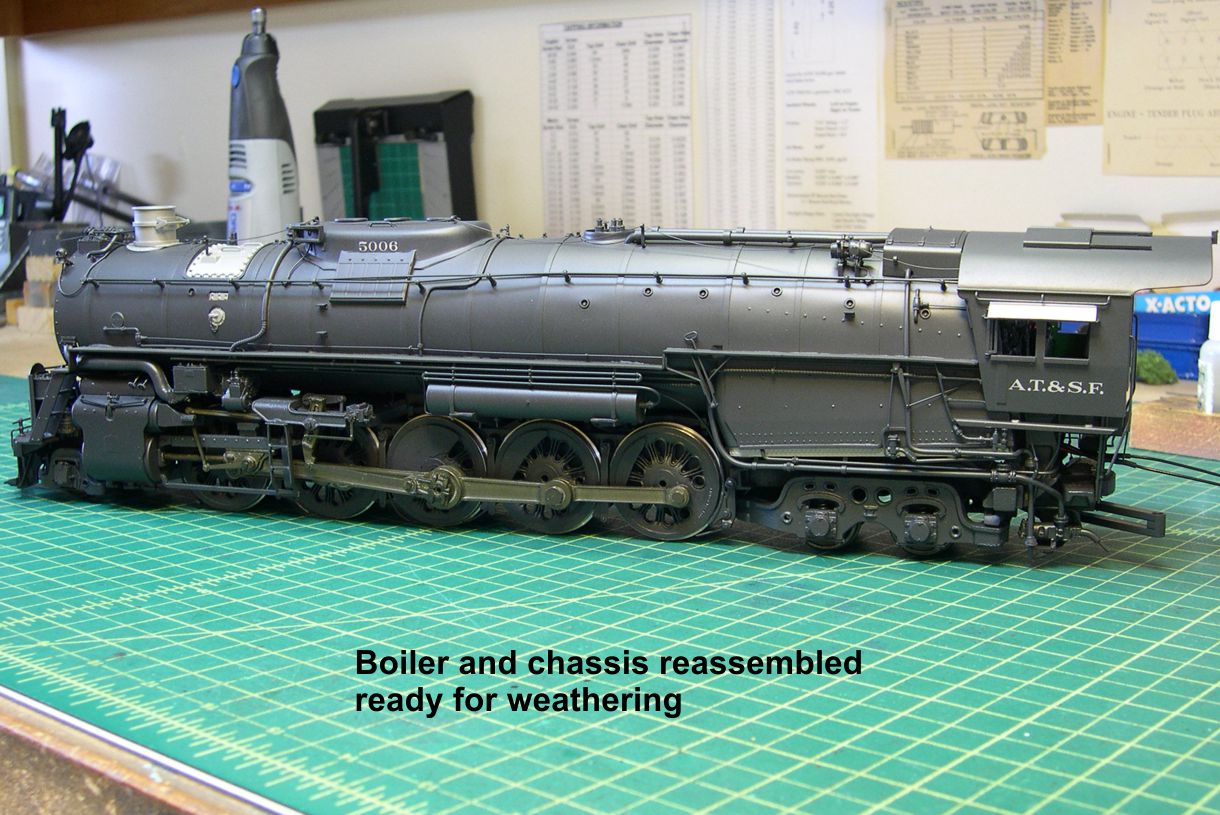
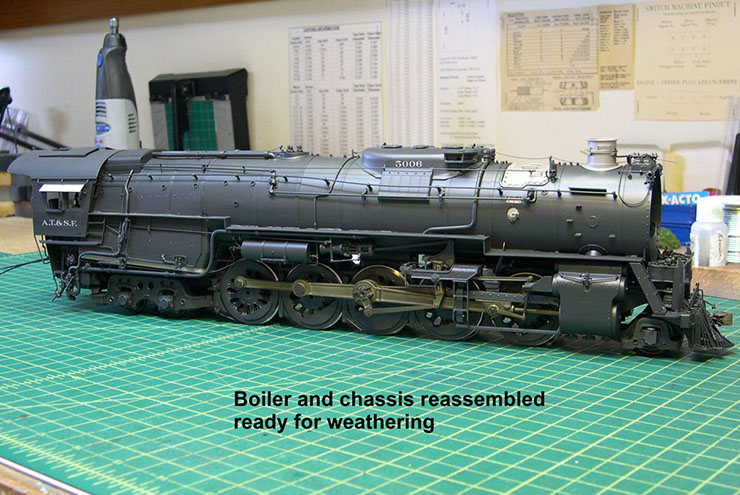
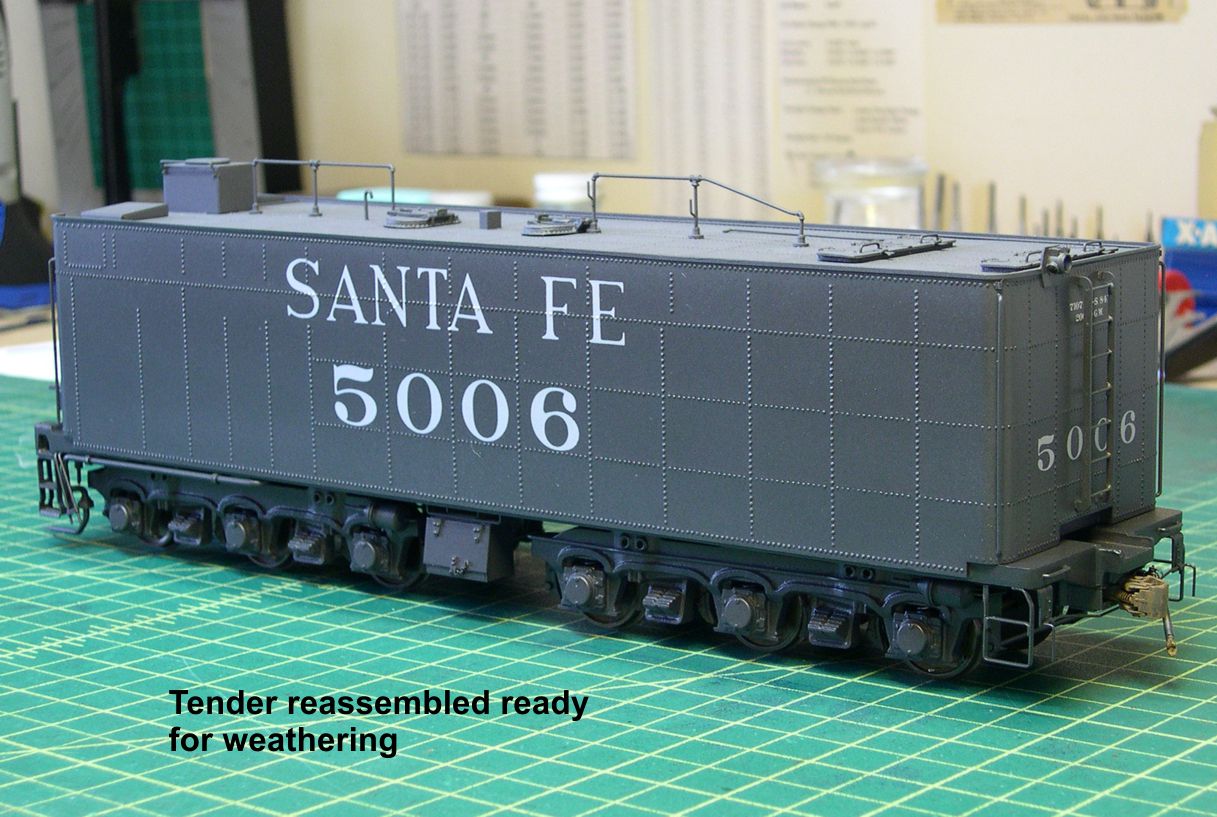
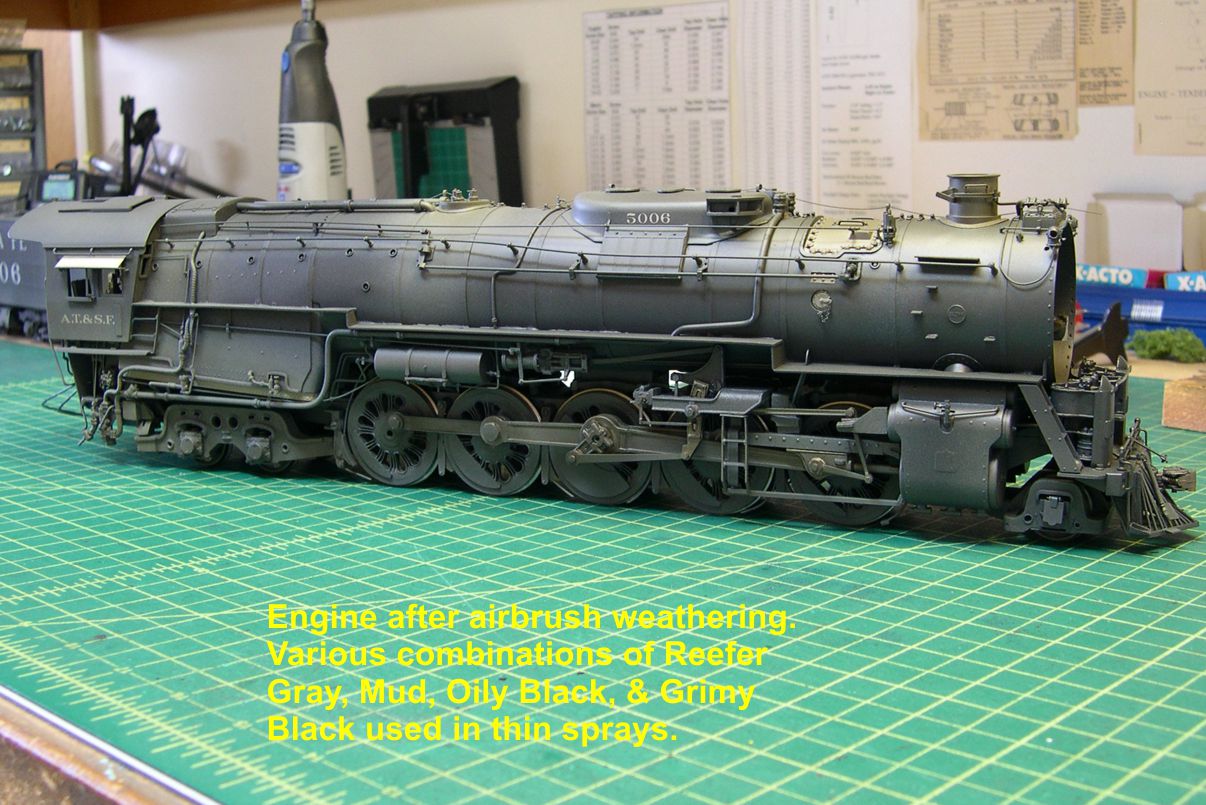
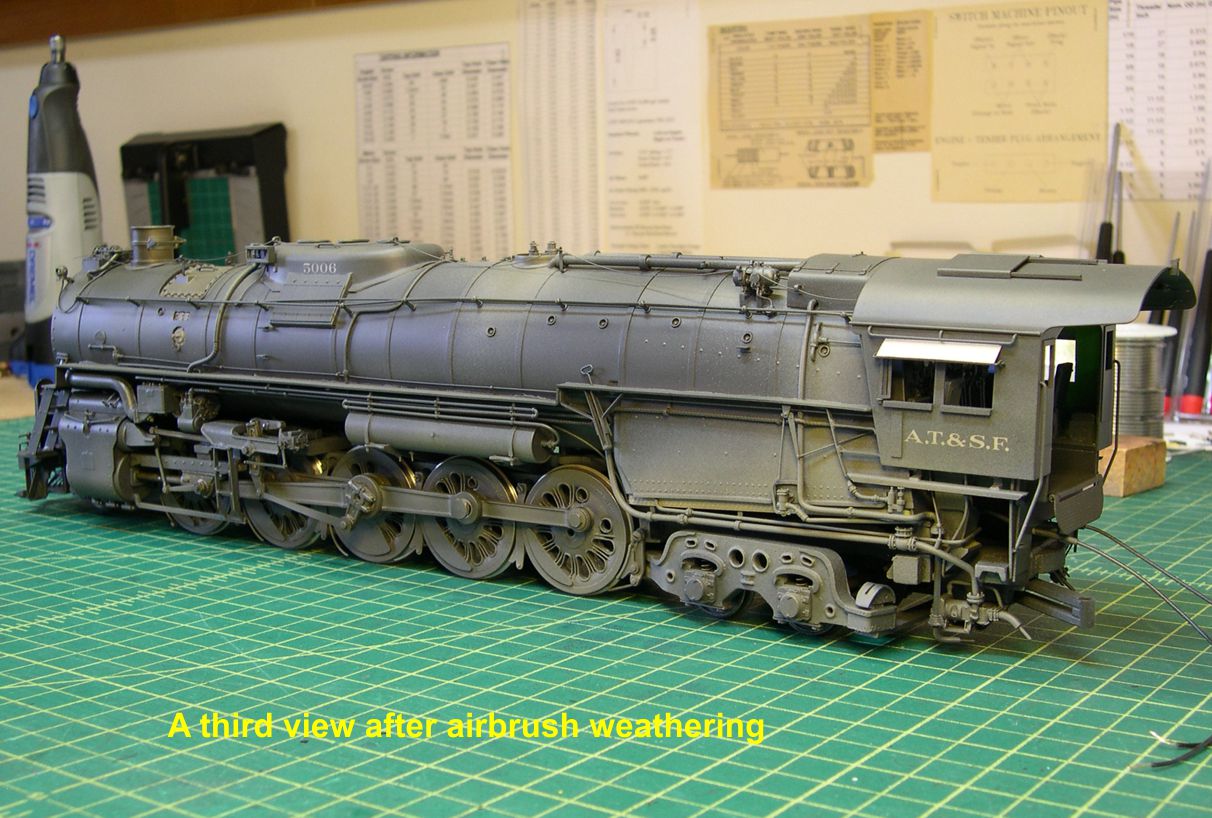
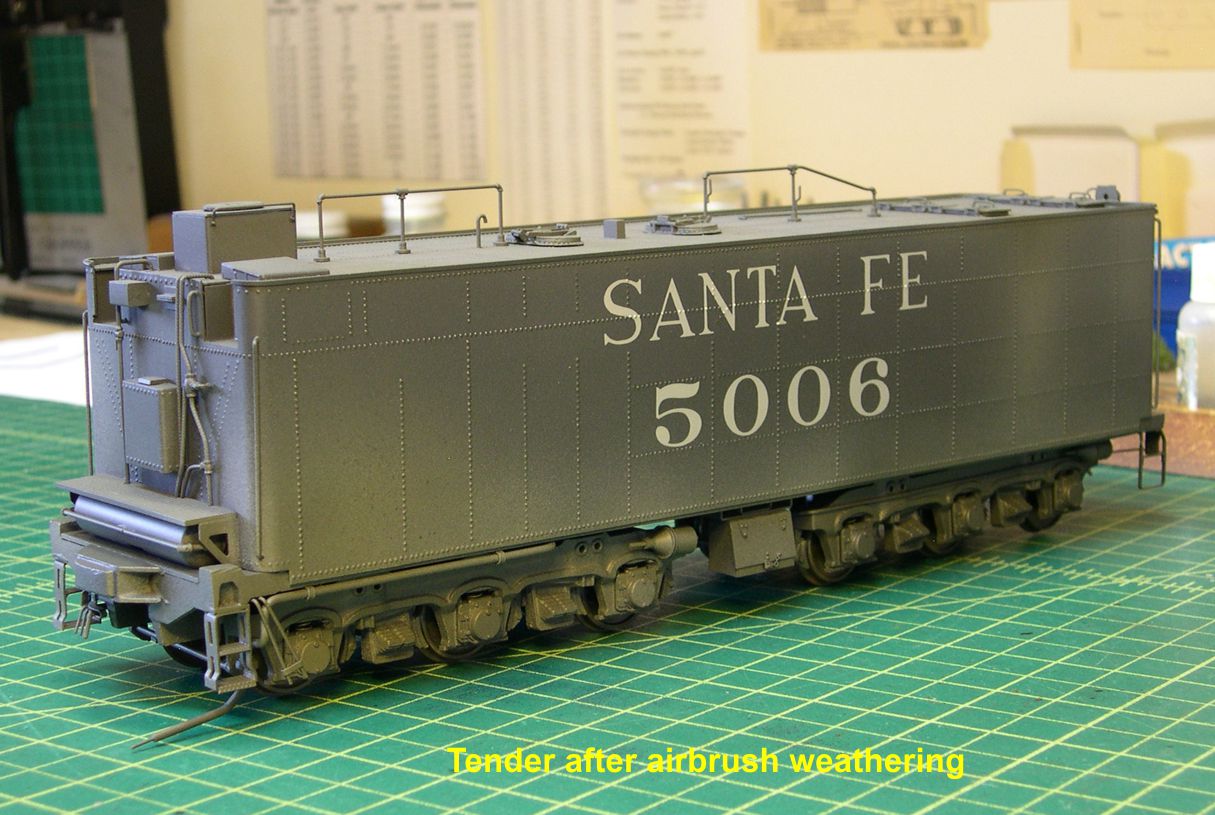
Now that all the lettering is done, it is time to reassemble the engine and tender for weathering. I do weathering not only on assembled models, but also running during the weathering. I think you get more realistic weathering patterns on the running gear this way. After all, that’s the way the real thing gets weathered. Photos 44-46 show the engine and tender reassembled and ready for weathering.
paint 44 ⤵
paint 45 ⤵
paint 46 ⤵
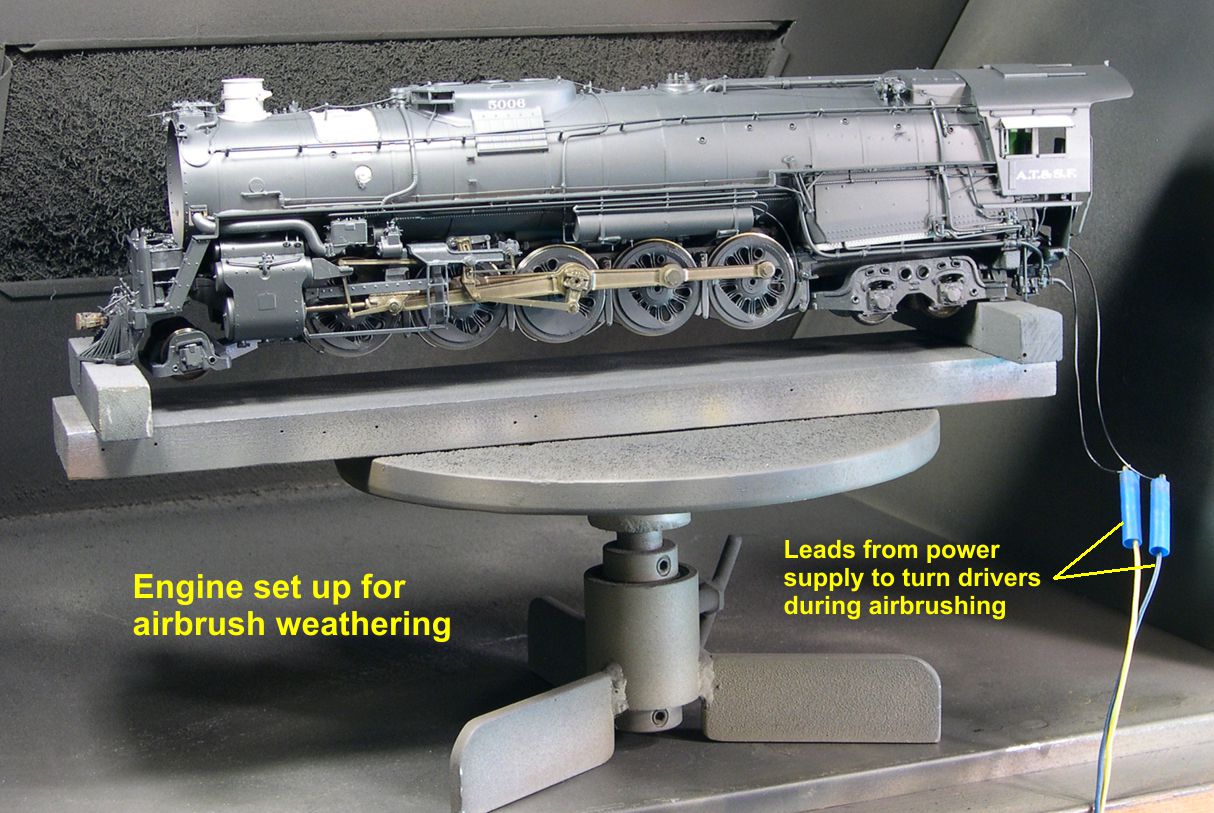
Starting with photo 47, I show the steps I go through for weathering an engine.
paint 47 ⤵
I should note that the close up nature of the photos does not show the weathering off to its best advantage. You are seeing it too magnified, and the photos have been somewhat over exposed to better show the details. Such photography cannot show the subtlety that is apparent in person. Nonetheless, this sequence shows the steps involved. Also, the 5001 class Texas types were hard working freight engines that got pretty heavily weathered in no time. Virtually all the photos I have found show them heavily weathered except for the “as delivered” appearance as they arrived on the property. Consequently, the weathering of both engines will be pretty heavy.
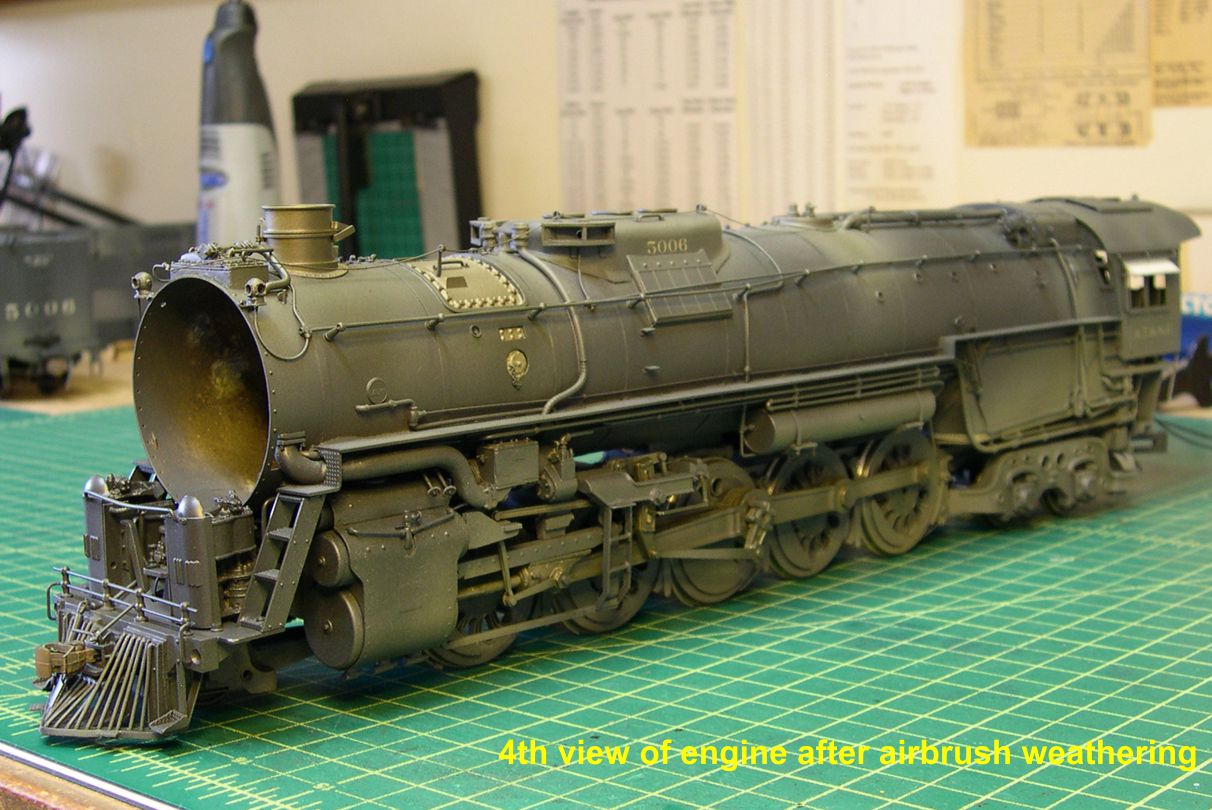
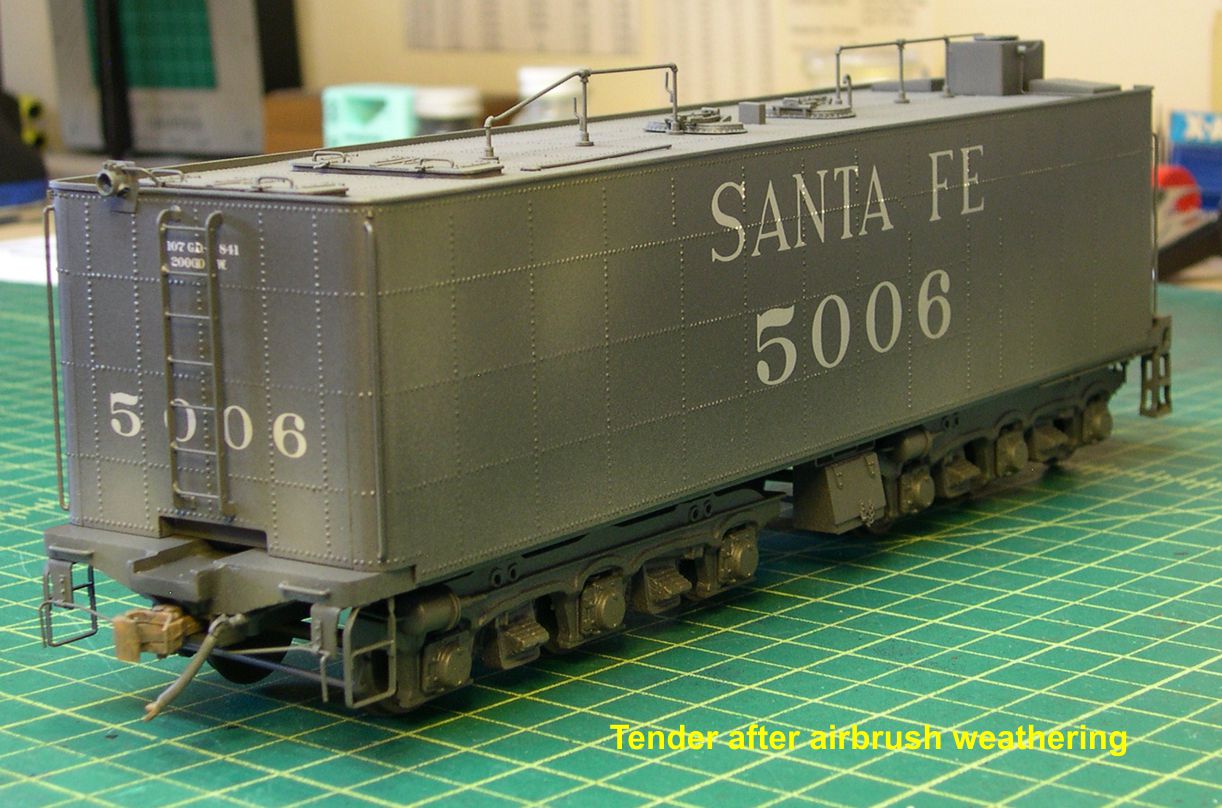
In photo 47, I have shown how I set up the engine in the spray booth so I can run it during airbrushing. Note that the smokebox front has been left off. It is much easier to get the desired effects on the smokebox front working with it separately. Photos 48-54 show the engine, tender, and smokebox front immediately after airbrushing.
paint 48 ⤵
paint 49 ⤵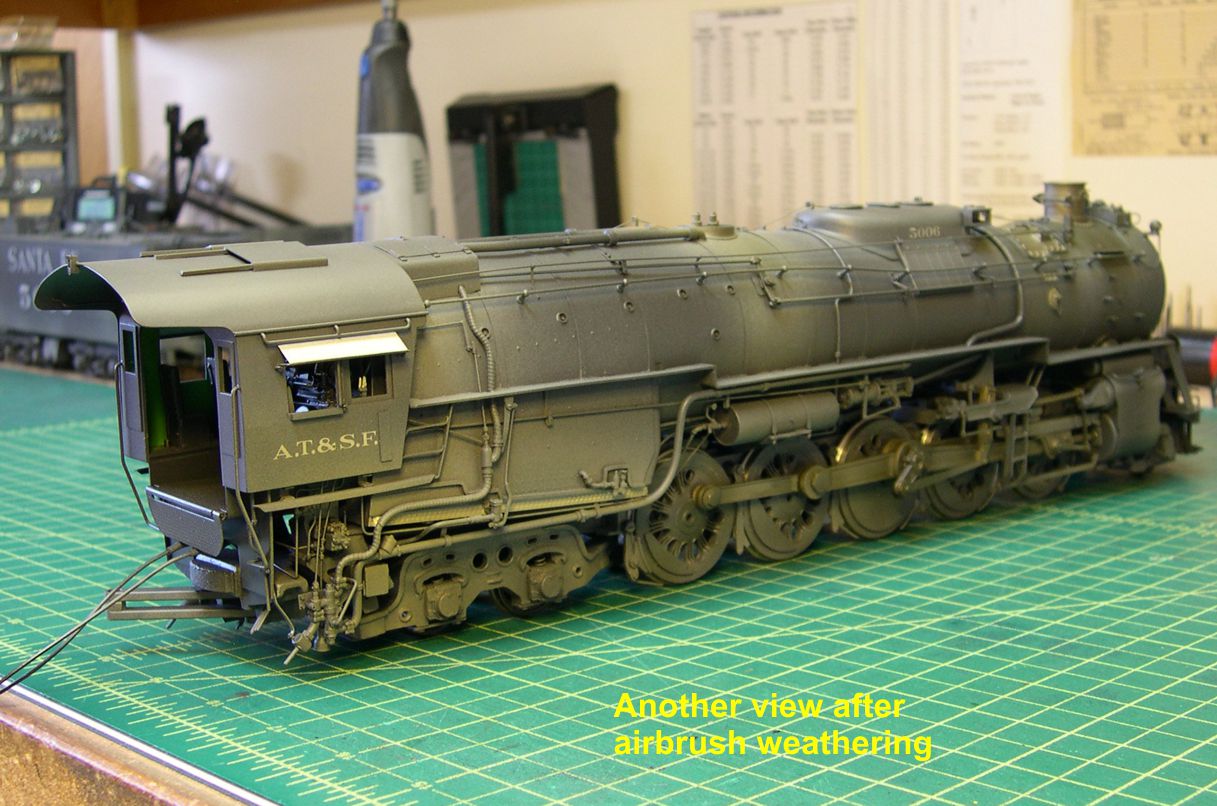
paint 50 ⤵
paint 51 ⤵
paint 52 ⤵
paint 53 ⤵
paint 54 ⤵
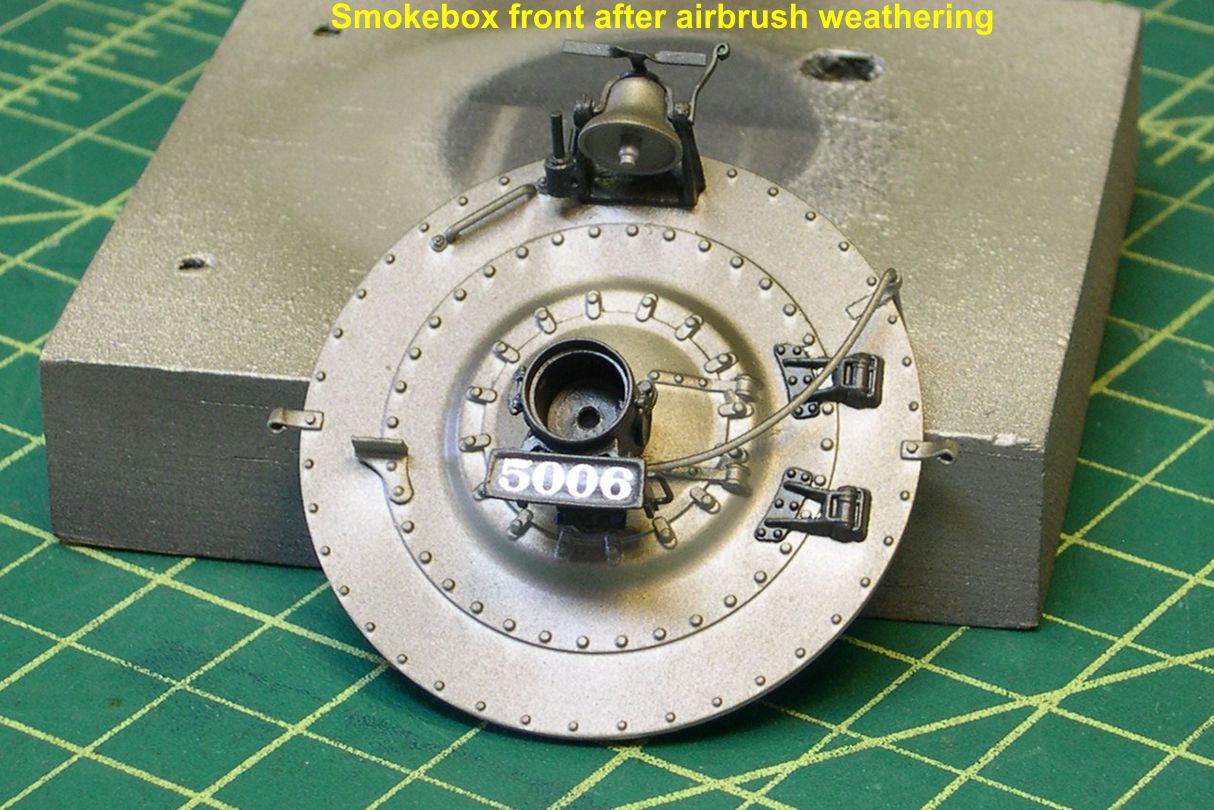
I used layered sprays of Mud, Reefer Gray, Grimy Black, and Oily Black. Overspraying various colors provides more depth and realism. The smokebox front is sprayed at a very shallow angle, so the black, sooty color appears to have fallen down from the stack, as on the prototype.
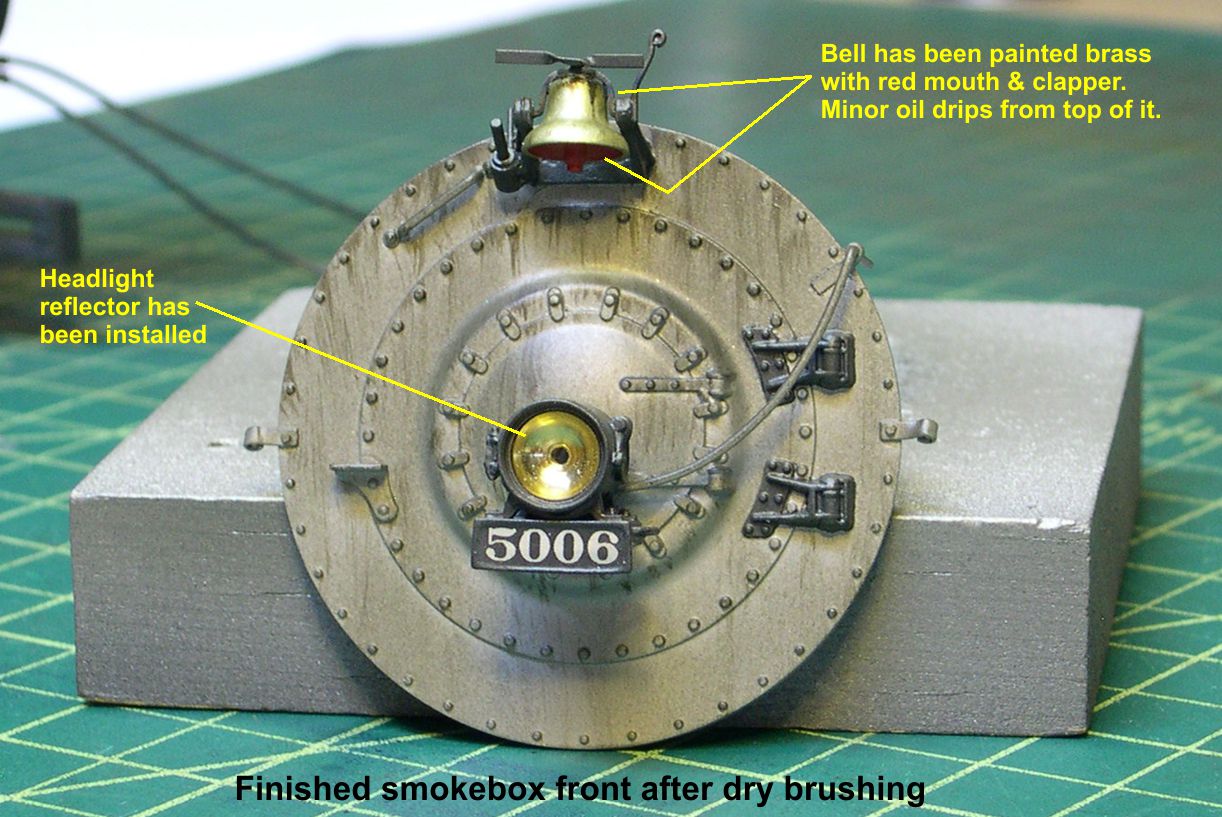
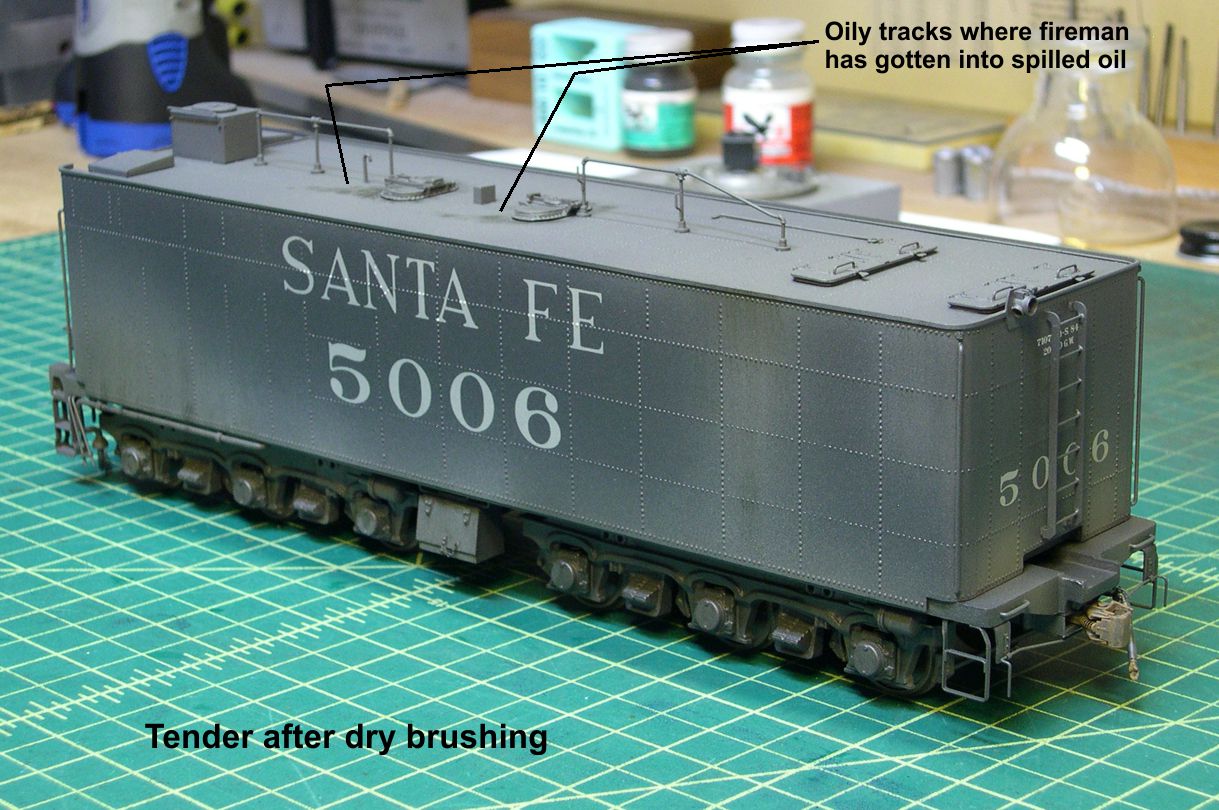
Airbrushing alone is not sufficient to get the best weathering effects. It is too smooth and uniform. You need some dry brushing to give texture and 3-dimensionality to the grit and grime. For anyone not familiar with the technique of dry brushing, it consists of dipping a brush in paint, then wiping it back and forth on a paper towel until hardly any color comes off it at all. You then flick it or lightly drag it against the surface to be highlighted, which will transfer tiny streaks of color from the almost dry brush. A little practice is needed to get the best effects, but it is a great way to enhance the airbrushed areas and make them appear to be dirty instead of painted. Photos 55-58 show the model after dry brushing.
paint 55 ⤵
paint 56 ⤵
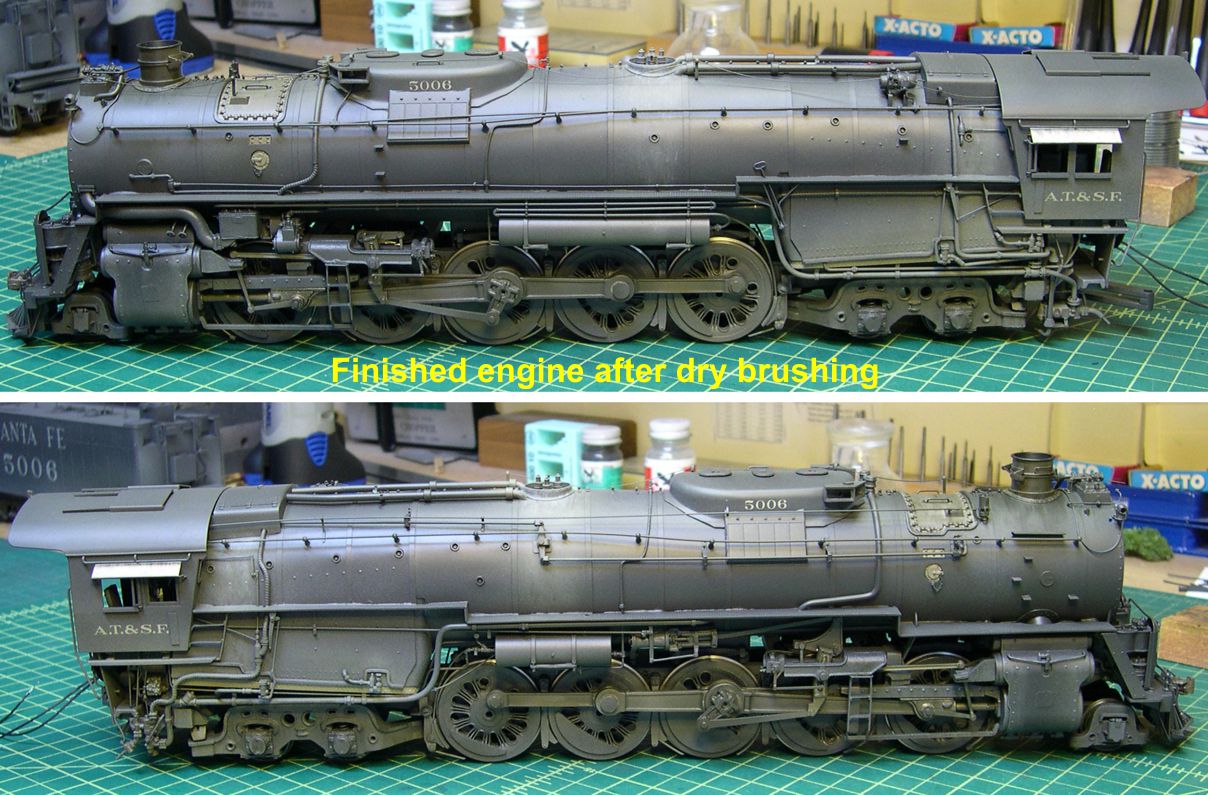
paint 57 ⤵

paint 58 ⤵
Note especially in photo 55 of the smokebox front how the drybrushing has left what appear to be streaks and drips of oily stuff on the smokebox front. This is a little heavier than some dry brushing, but I wanted the oily, dirty appearance to be obvious. Of course, at normal magnification, it is much more subtle.
In photo 59, I show how I make small lenses such as those in the class lights.
paint 59 ⤵
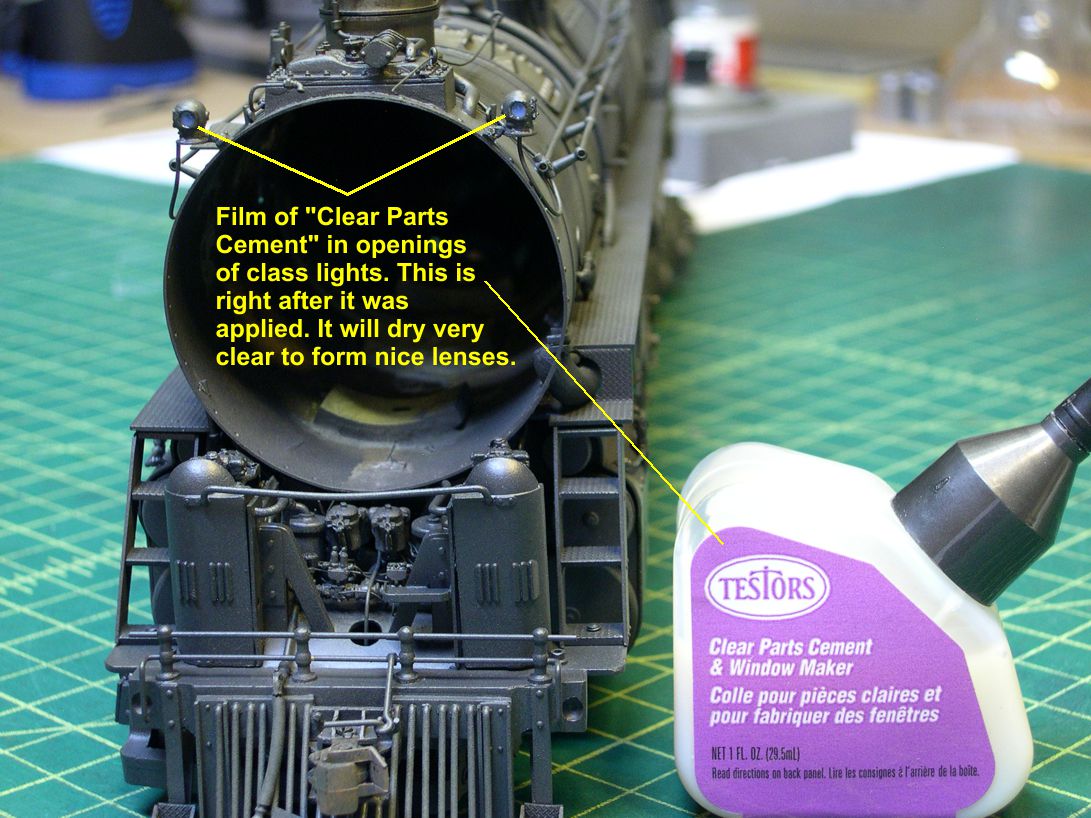
I use Testors Small Parts Cement & Window Maker. This whitish looking glue dries very clear. You just take a drop of it on the end of a toothpick and insert it into the opening where you want a lens. Then lightly touch it to all the edges of the opening until a film forms across the opening. It will be a milky looking film at first, as in the photo. It will dry completely clear and fairly strong. This stuff is heavily used in aircraft modeling for attaching clear canopies, etc.
Now I will move on to adding the light bulbs and wiring everything up, including DCC and sound. The files “Wiring-1” through “Wiring-4” are the beginning of this process.
wiring 1 ⤵
wiring 2 ⤵
wiring 3 ⤵
wiring 4 ⤵

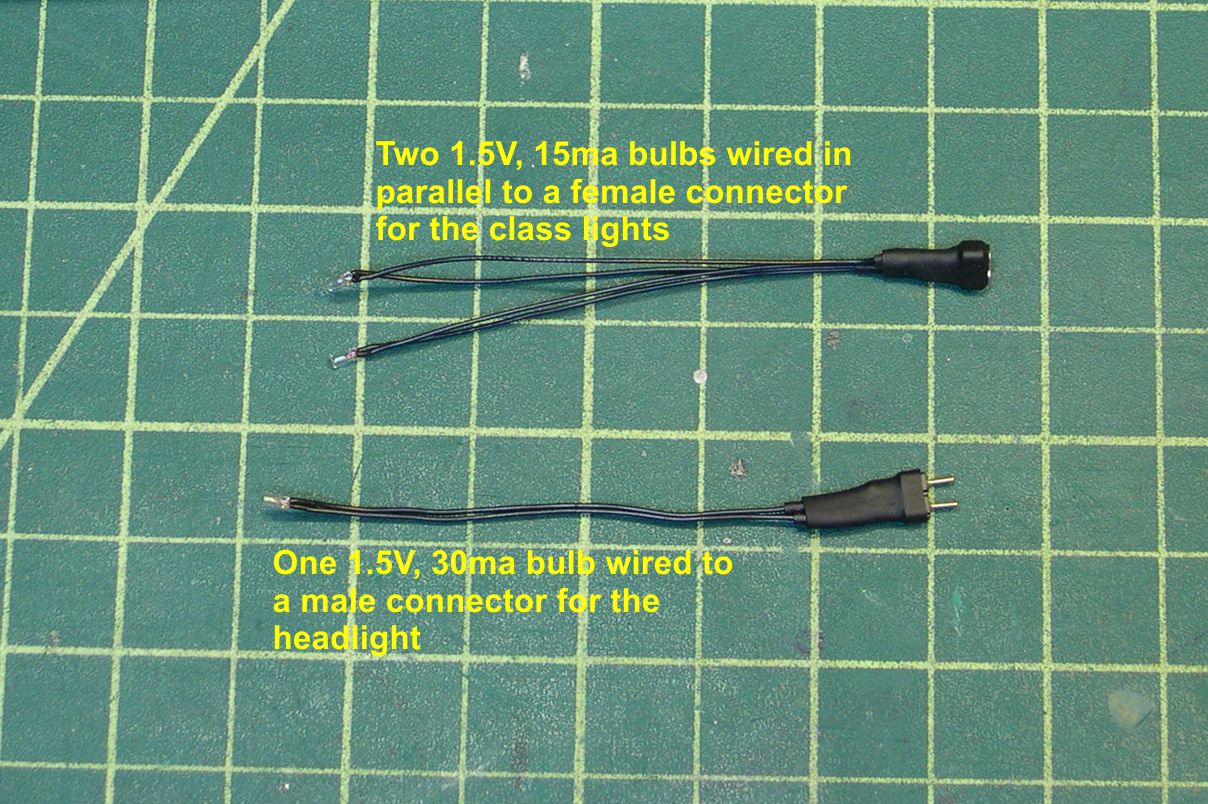
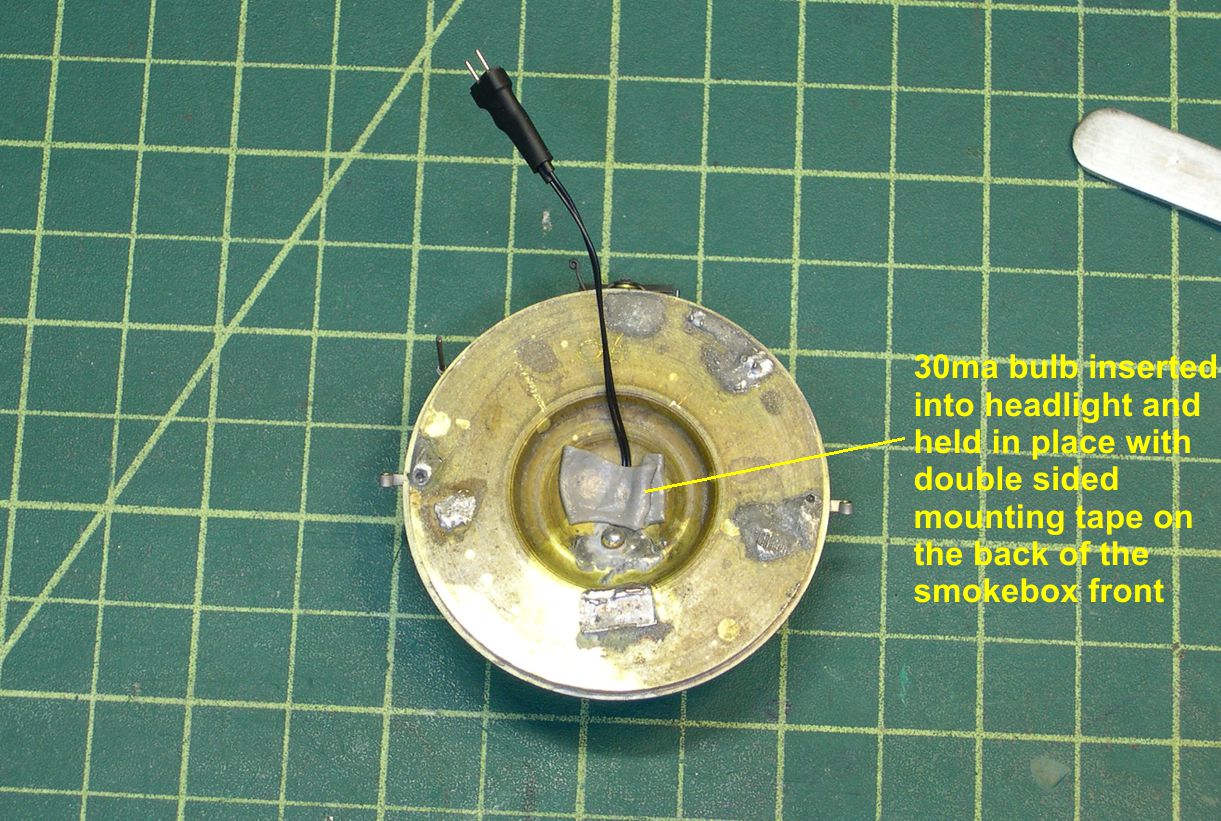
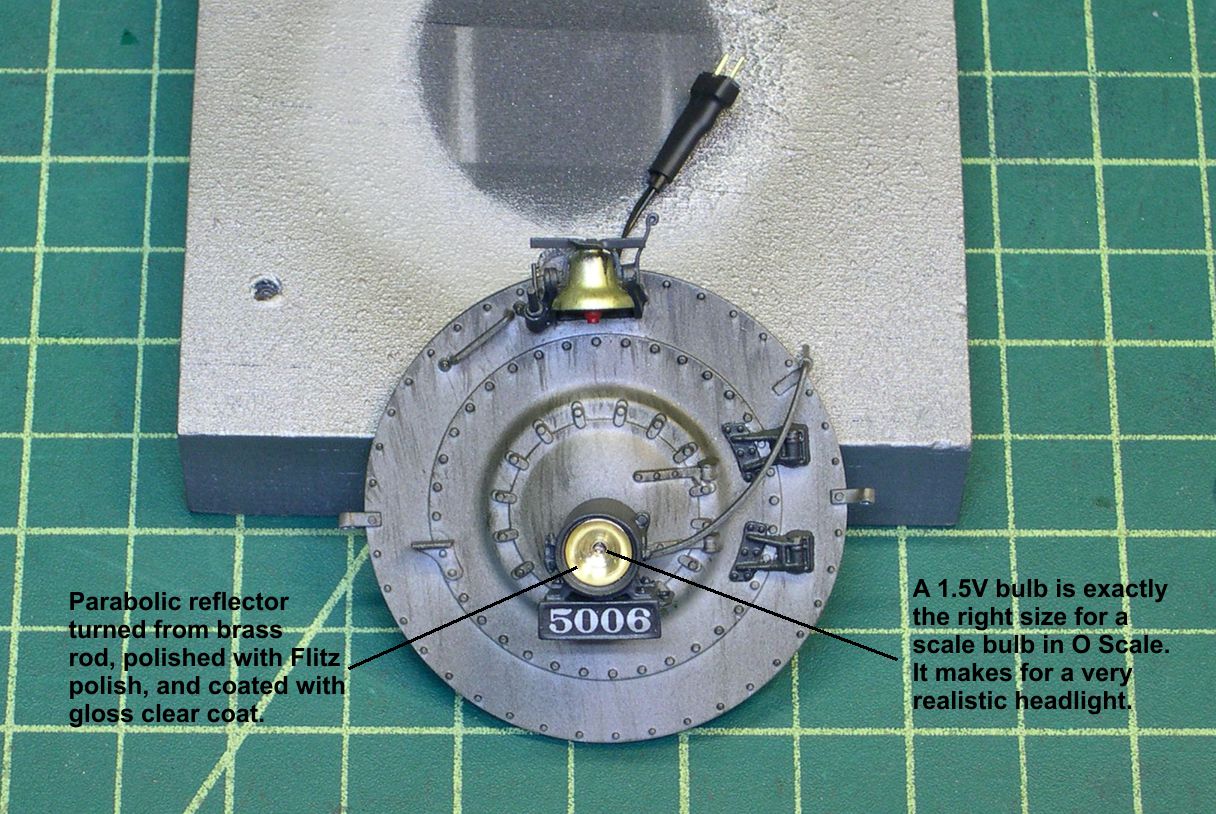
I like to have everything removable with minimal effort on my engines, so most bulbs have plugs instead of being hard wired. In photo 1, you can see the single 1.5V, 30ma Miniatronics bulb for the headlight and its socket. The two 1.5V, 15ma Miniatronics bulbs are for the class lights, and are wired in parallel to their socket. I use 15ma bulbs for the class lights as they are not as bright as the 30ma bulbs I use for headlight and backup lights. Since these two sockets are in close proximity to each other, I made one a male and the other a female, so they cannot be switched by accident. It is not safe to assume you will always remember which is which in the future, so make it fool proof wherever possible. Photos 2 and 3 show installation of the 30ma bulb in the headlight. The headlight reflector is made my usual way, turned from brass rod. In photo 4, the 15ma bulbs have been installed in the class lights. I am showing how I test each installation immediately. Nothing is much more frustrating than assuming there are no shorts, opens, or bad bulbs only to discover you were wrong when you fire up a completed engine. At the initial stage, any required fix is really easy. I am just holding the leads against the poles of a 1.5V AA battery. It makes an easy tester and there is no risk of applying an over voltage to the bulbs.