B&O 2-8-8-4 EM-1 “Yellowstone”
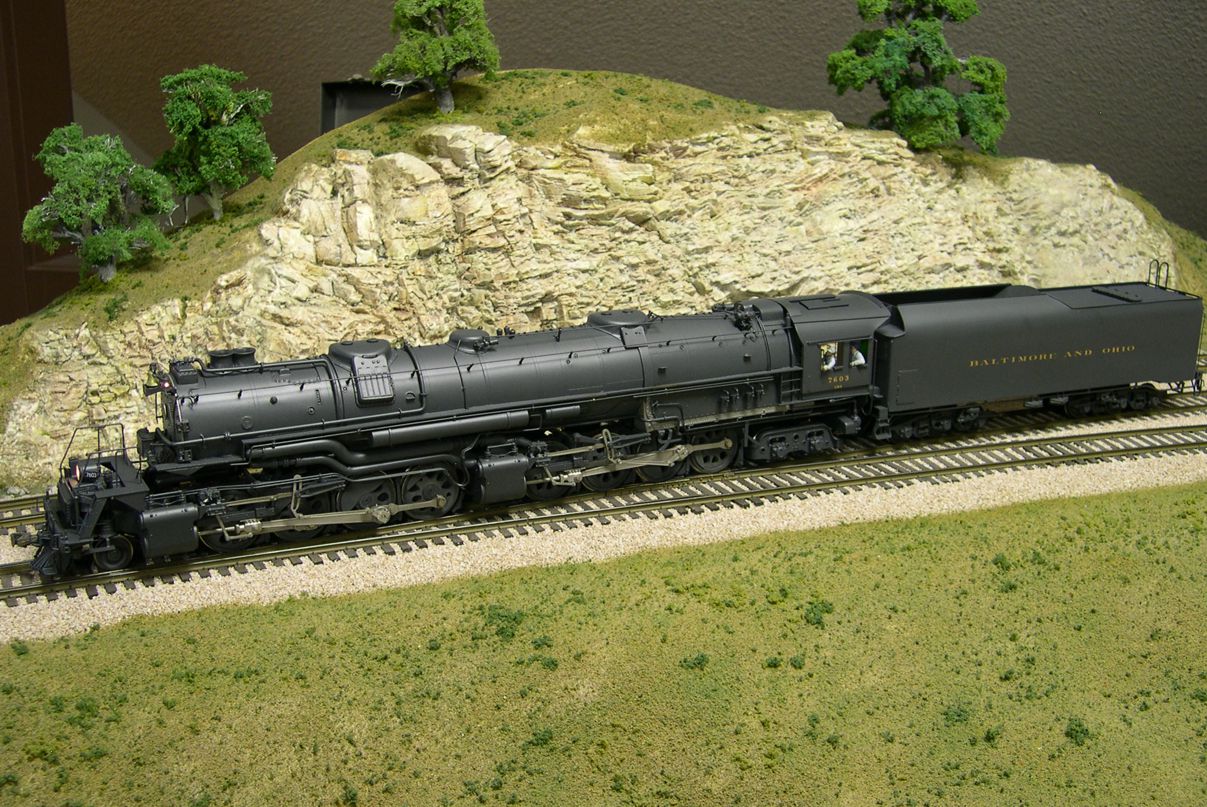
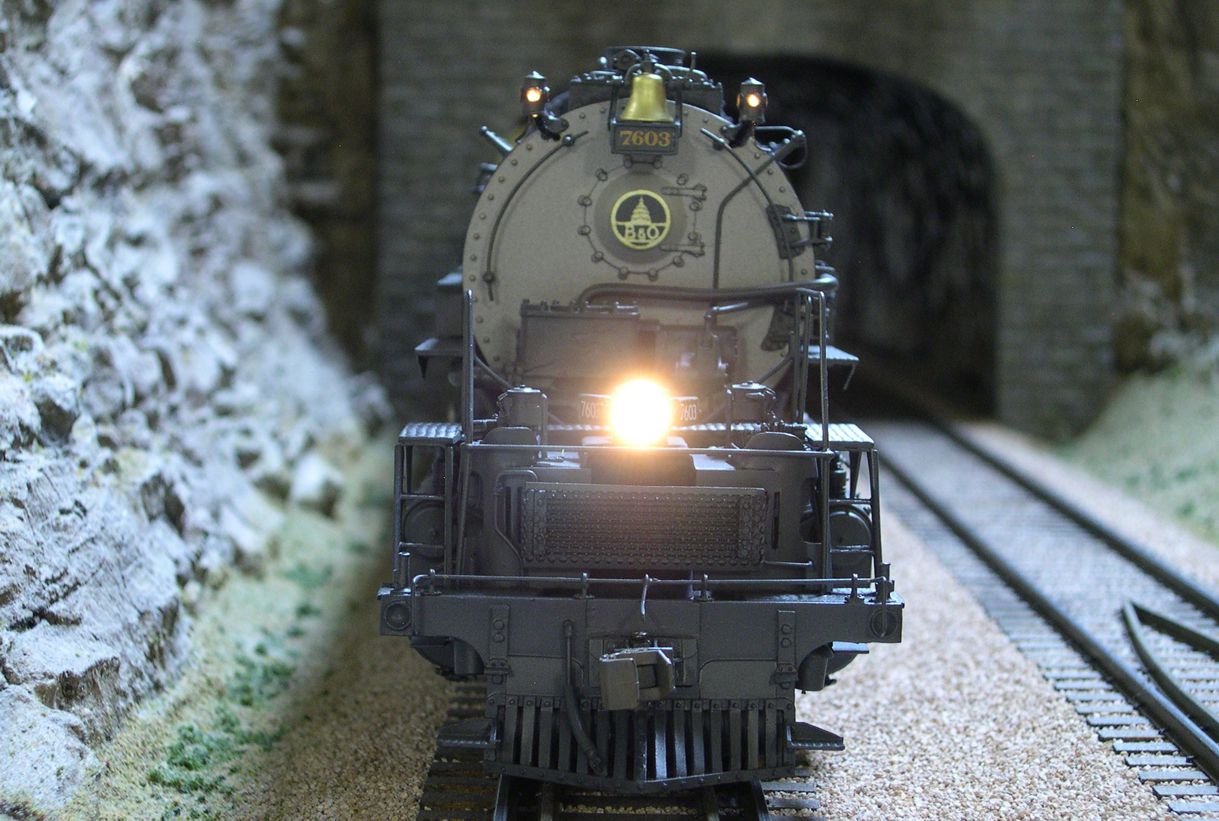
I am now getting started on finishing up two Westside B&O EM-1 2-8-8-4 Yellowstones for C. O. Gibson. There are 15 photos attached, mostly of the model before doing any work on it, so you can see what it looked like beforehand.
photo 1 ⤵ 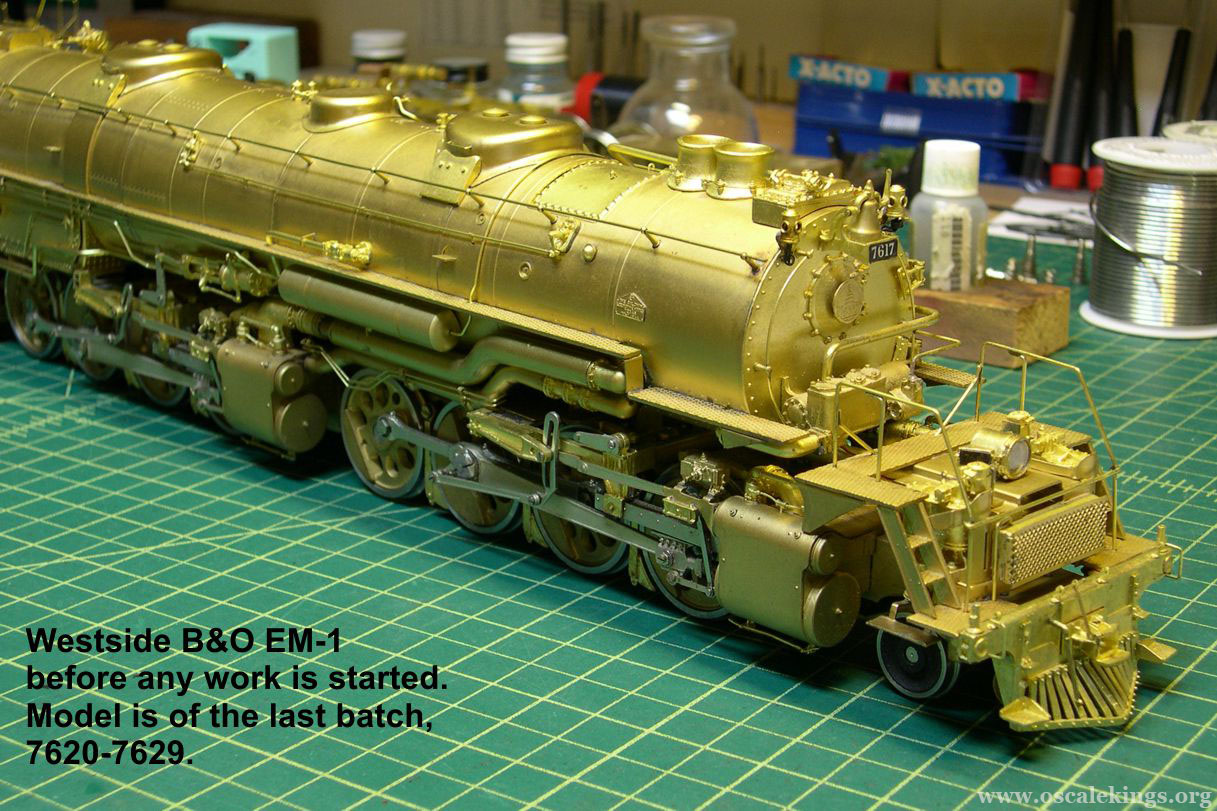
photo 2 ⤵ 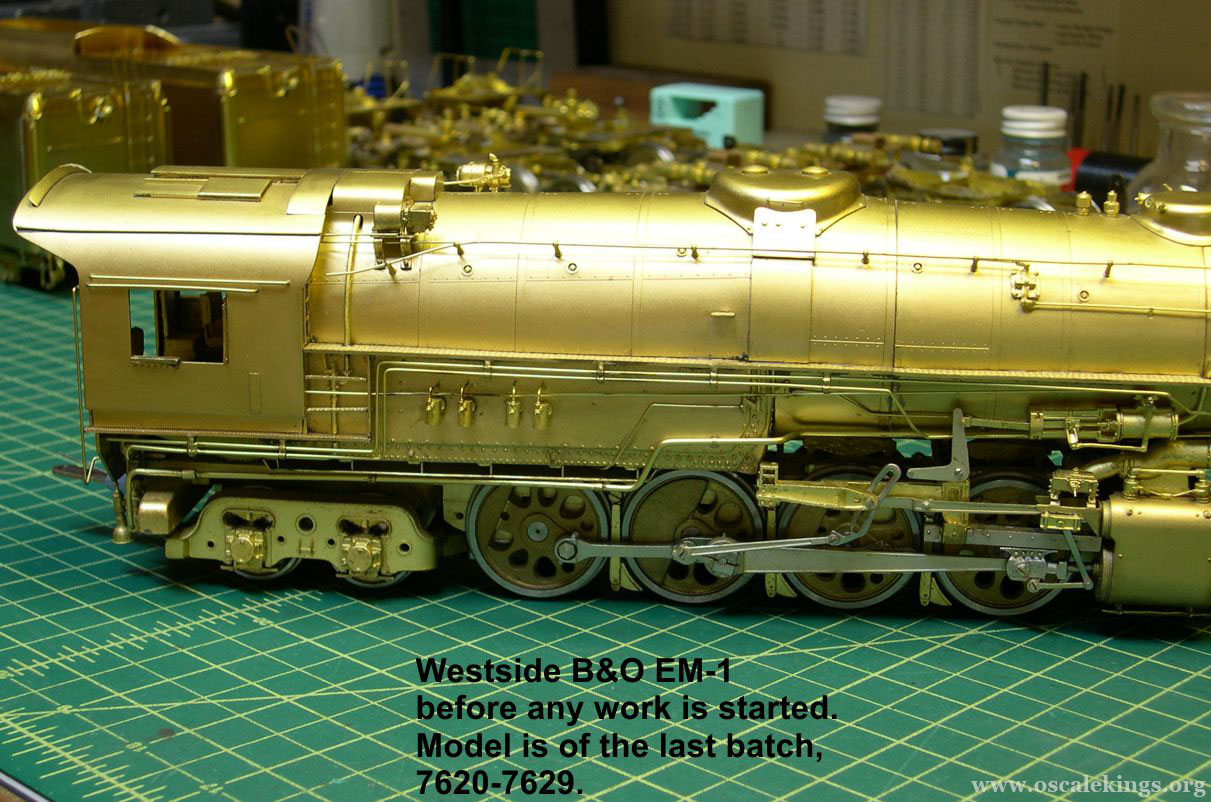
photo 3 ⤵ 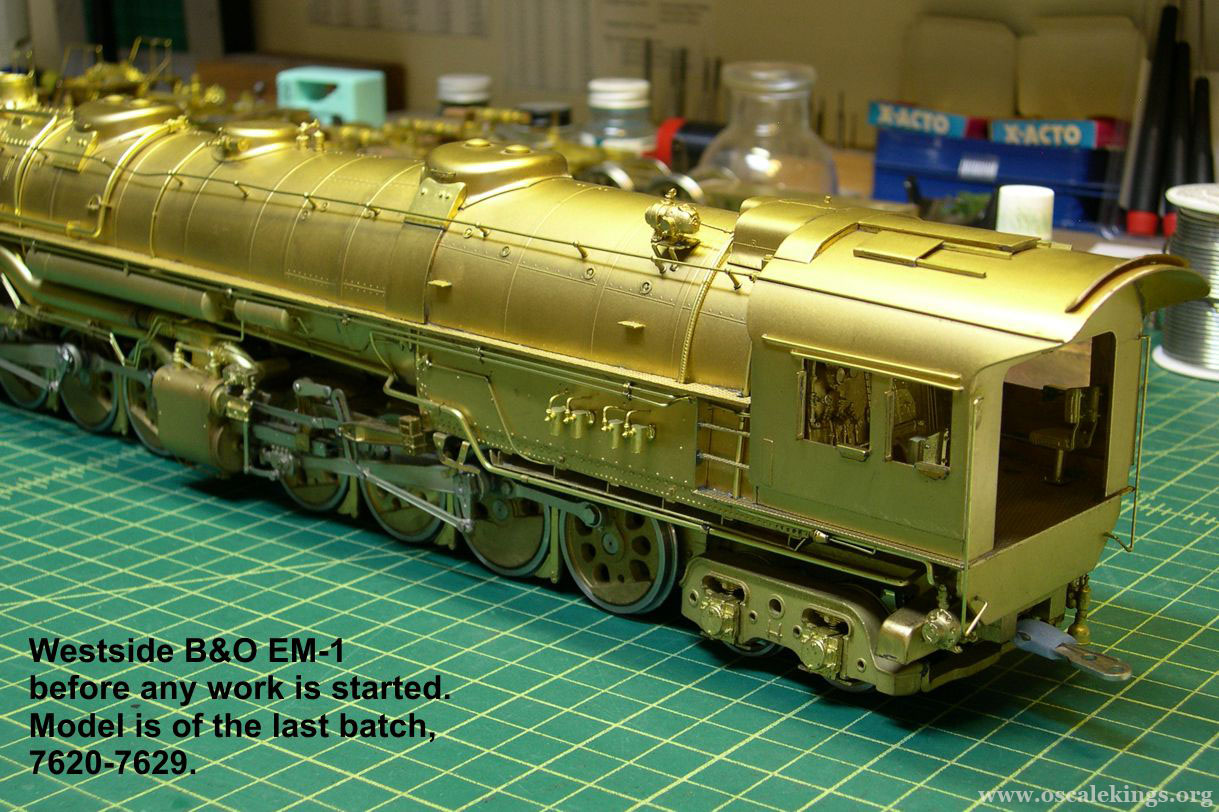
photo 4 ⤵ 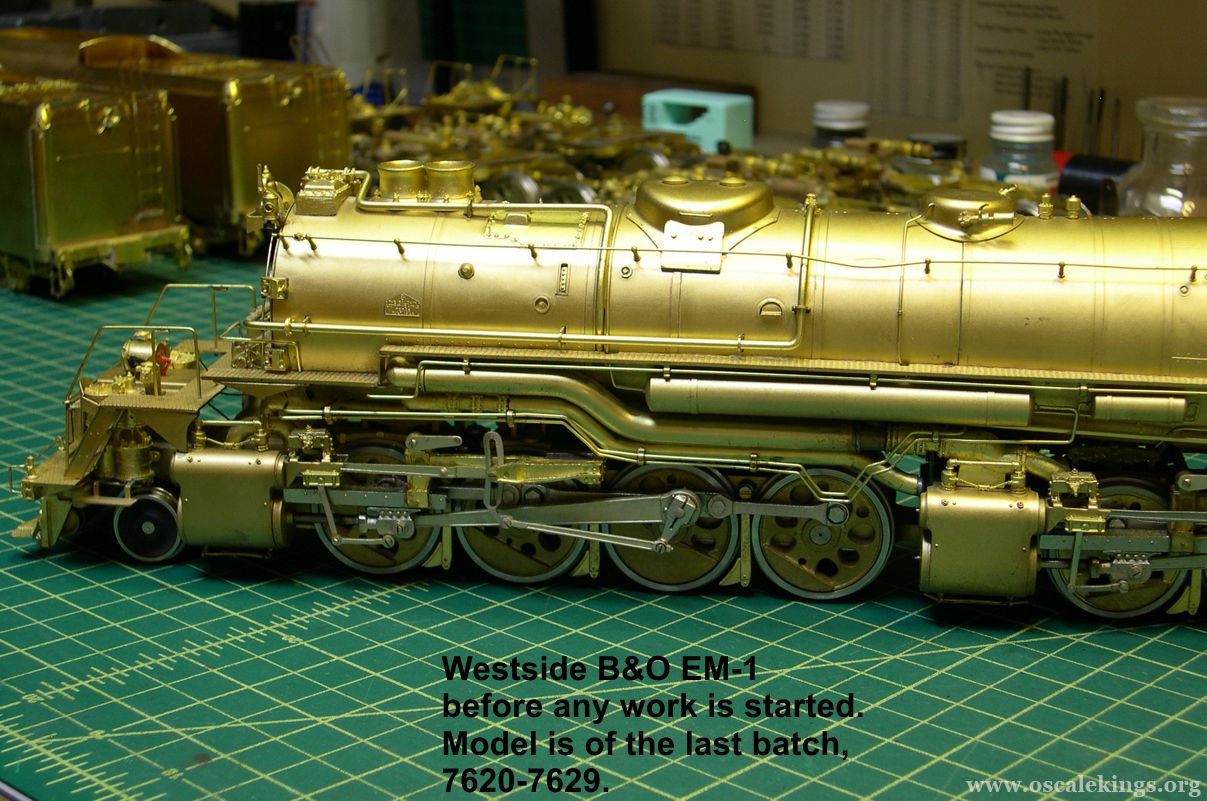
photo 5 ⤵ 
photo 6 ⤵ 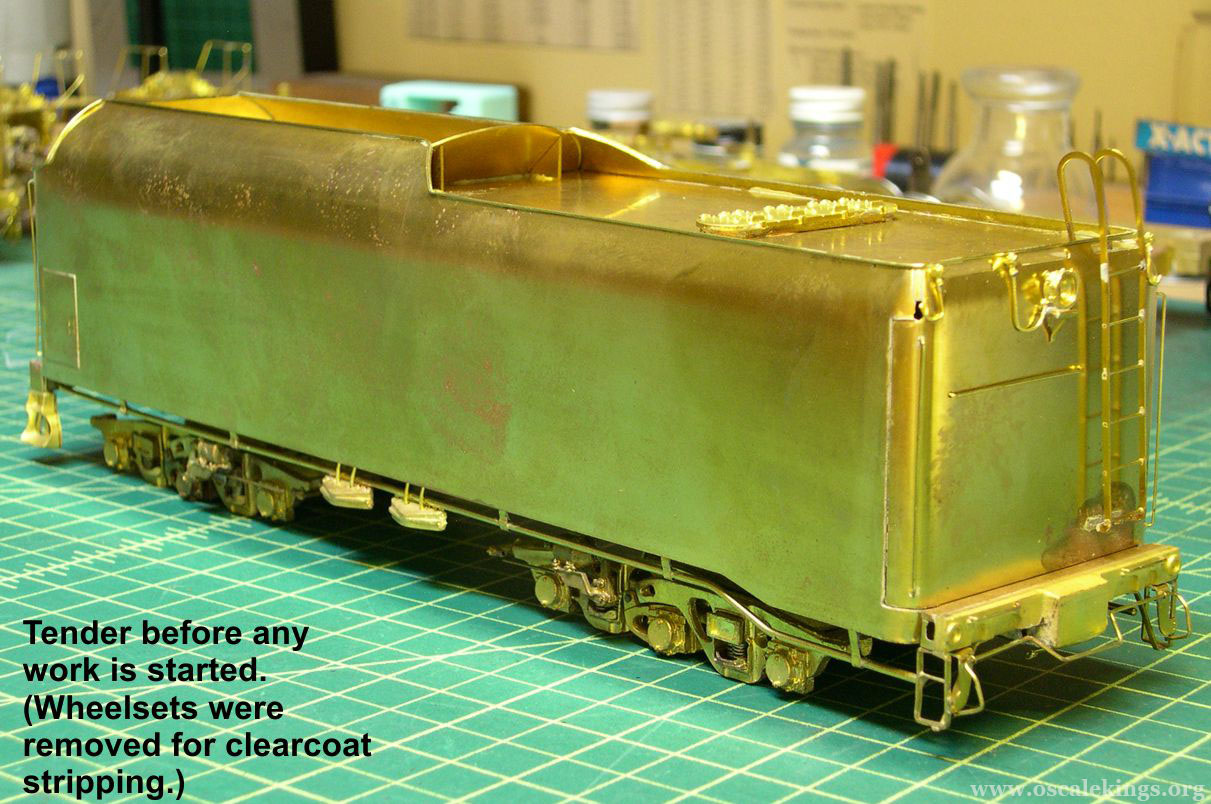
photo 7 ⤵ 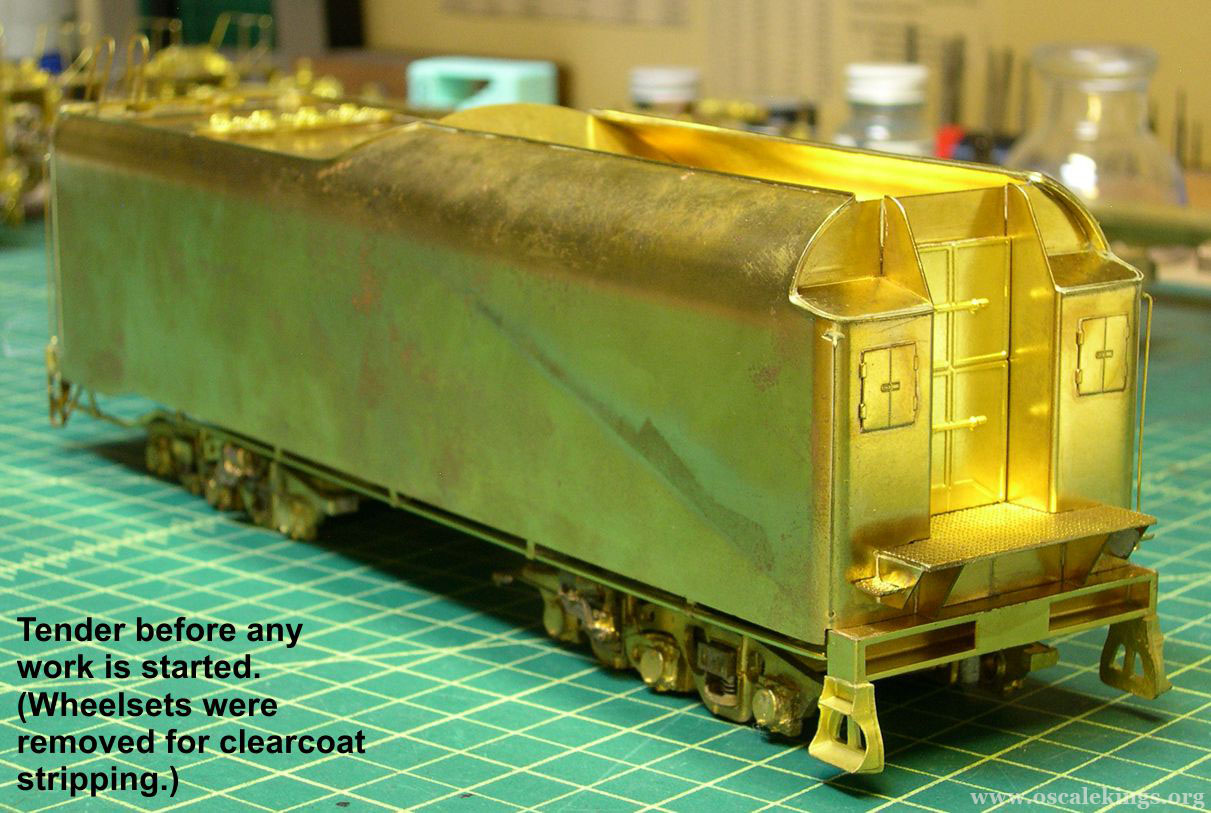
C.O. had sent these engine to Sofue in Japan some years ago to get dual motor coasting drives installed. I included a few photos of the drive for your information. The drives work well and I will not be changing anything about them.
photo 8 ⤵ 
photo 9 ⤵ 
photo 10 ⤵ 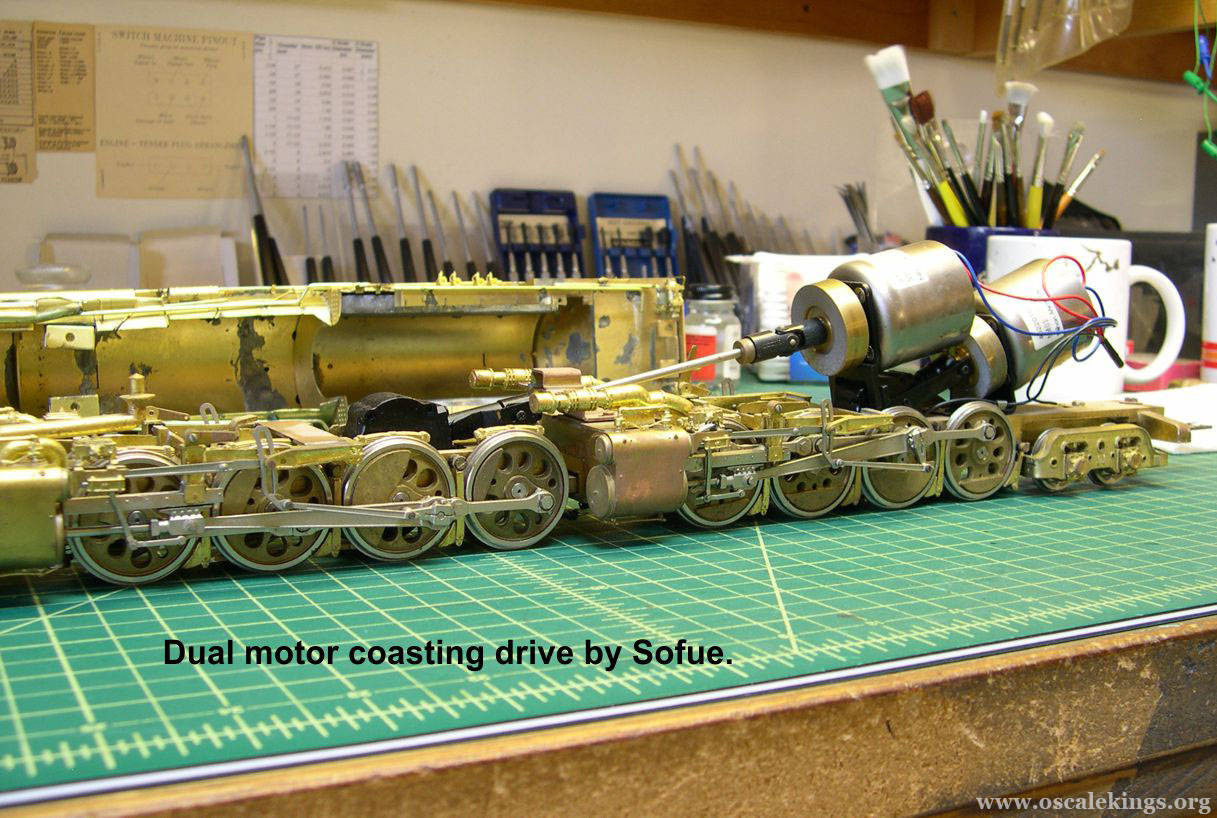
Originally, the project was to involve a little extra detailing and mostly painting and lettering. However, these are early Samhongsa models and as such prefer to turn themselves into kits. The soldering is really bad, so a lot of repair work will be necessary to make them whole again. Westside brought in both the early series, 7600-7619, and the later series, 7620-7629. The most noticeable difference between the two series is the sander covers on the front sand dome. The first series has a very large cover, while the second series is much smaller. Check valve placement is slightly different as well. I will be doing one from each series for this project.
As built, the cab is not removable. Unfortunately, the cab assembly is not very well soldered to the boiler, so it tends to break loose at various locations. Since I have to do some extensive repairs anyway, I have elected to remove the whole cab assembly and redo the mounting to the boiler and make the cab removable at the same time.
The models came with really nice backhead detail, as you can see in the photos. Making the cab removable will facilitate painting that detail, lighting the cab so you can see it, etc. Removing the cab assembly was not very difficult, as it was trying to remove itself anyway. A little judicious prying broke all the solder joints. Then I had to remove the front cab wall from the cab itself using my trusty heat gun. That was about the only decent solder joint in the whole assembly.
photo 11 ⤵ 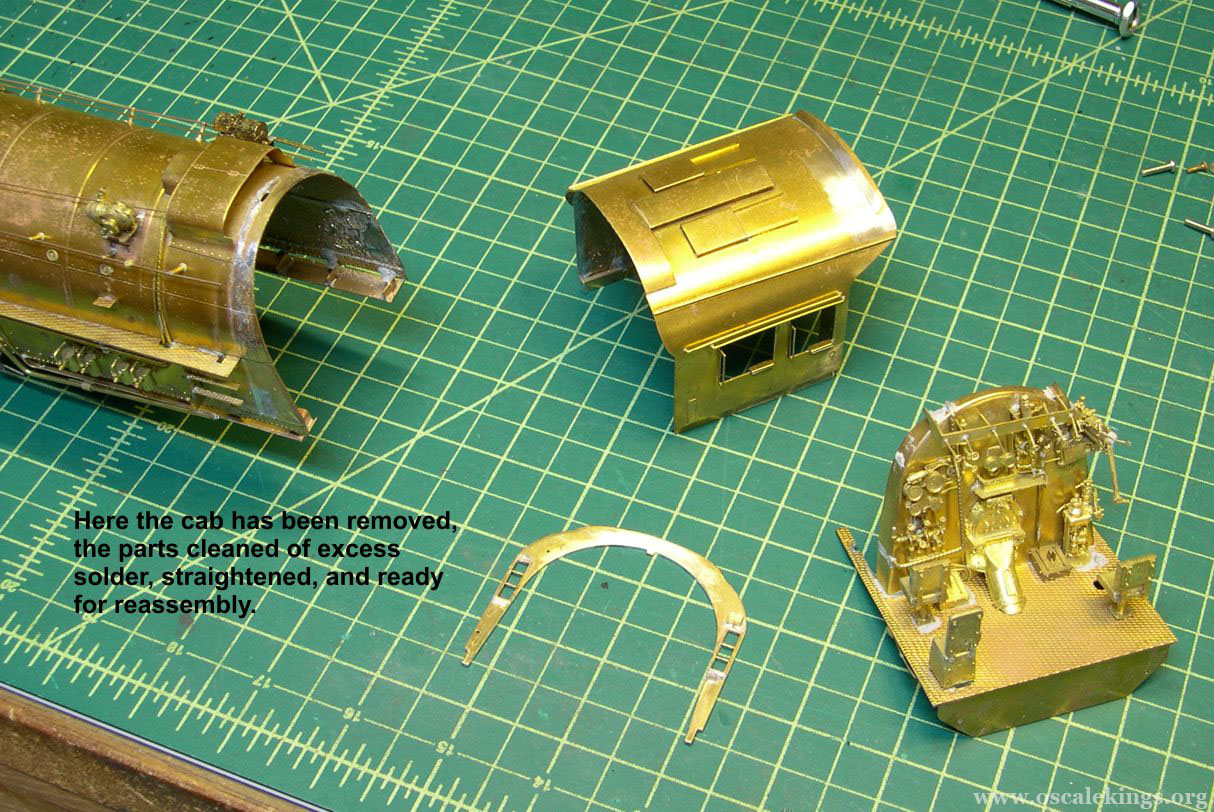
photo 12 ⤵ 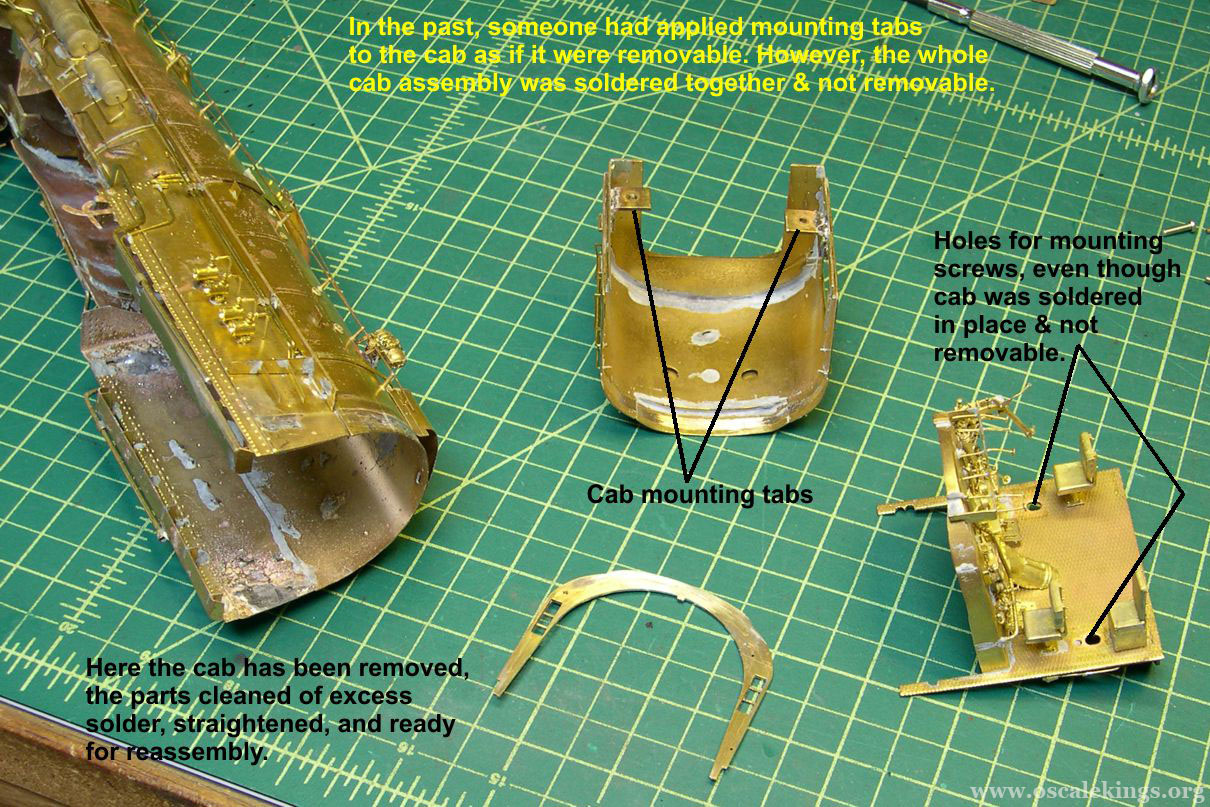
Several of the photos show the cab, cab front wall, and backhead assembly cleaned up and ready to be re-installed. Careful fitting and soldering the way it should have been in the first place provides a nice sturdy backhead and cab floor assembly securely mounted on the boiler. I did not even have to provide mounting tabs or screw holes for cab mounting.
photo 13 ⤵ 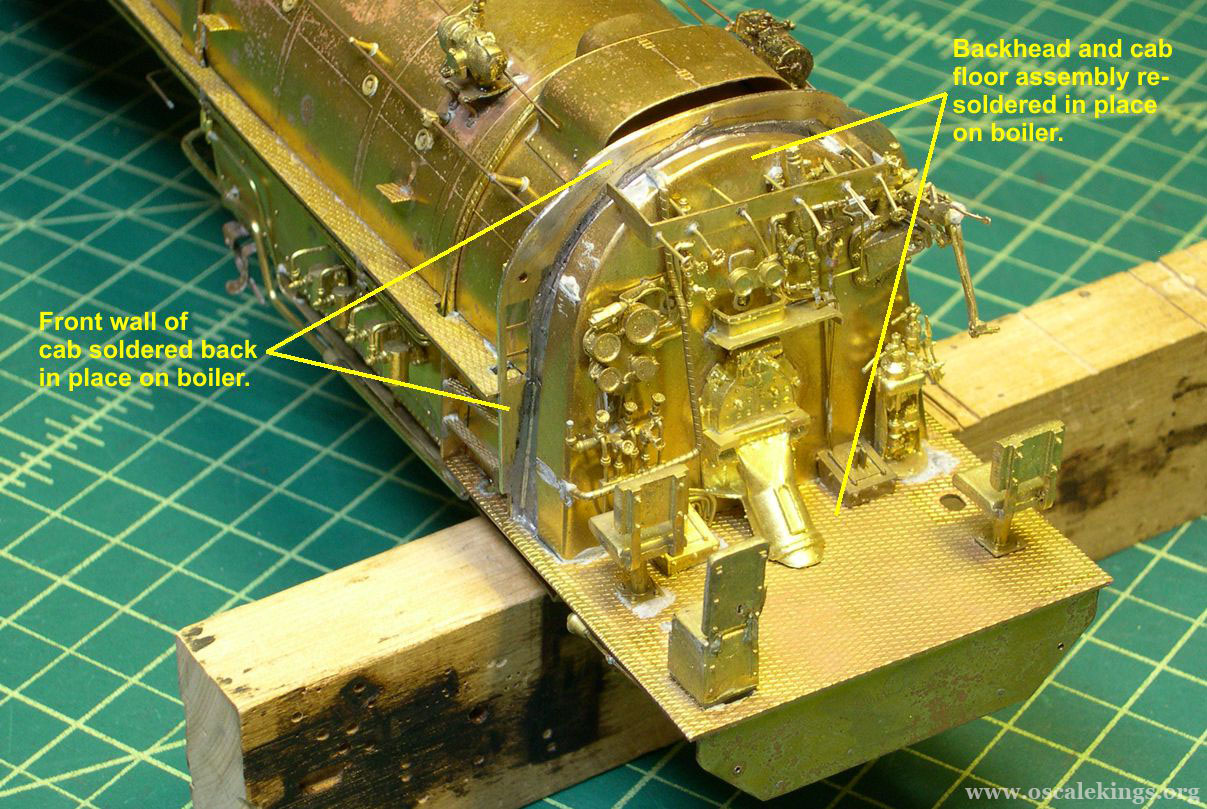
photo 14 ⤵ 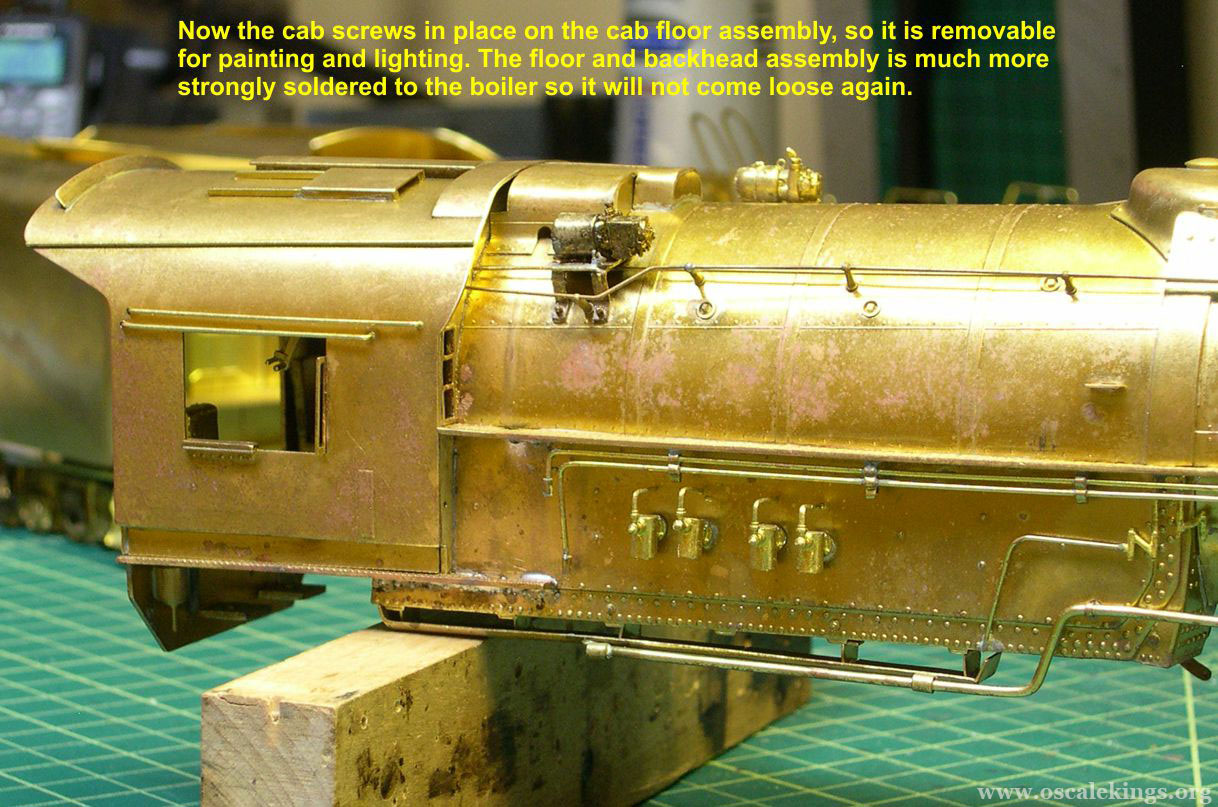
photo 15 ⤵ 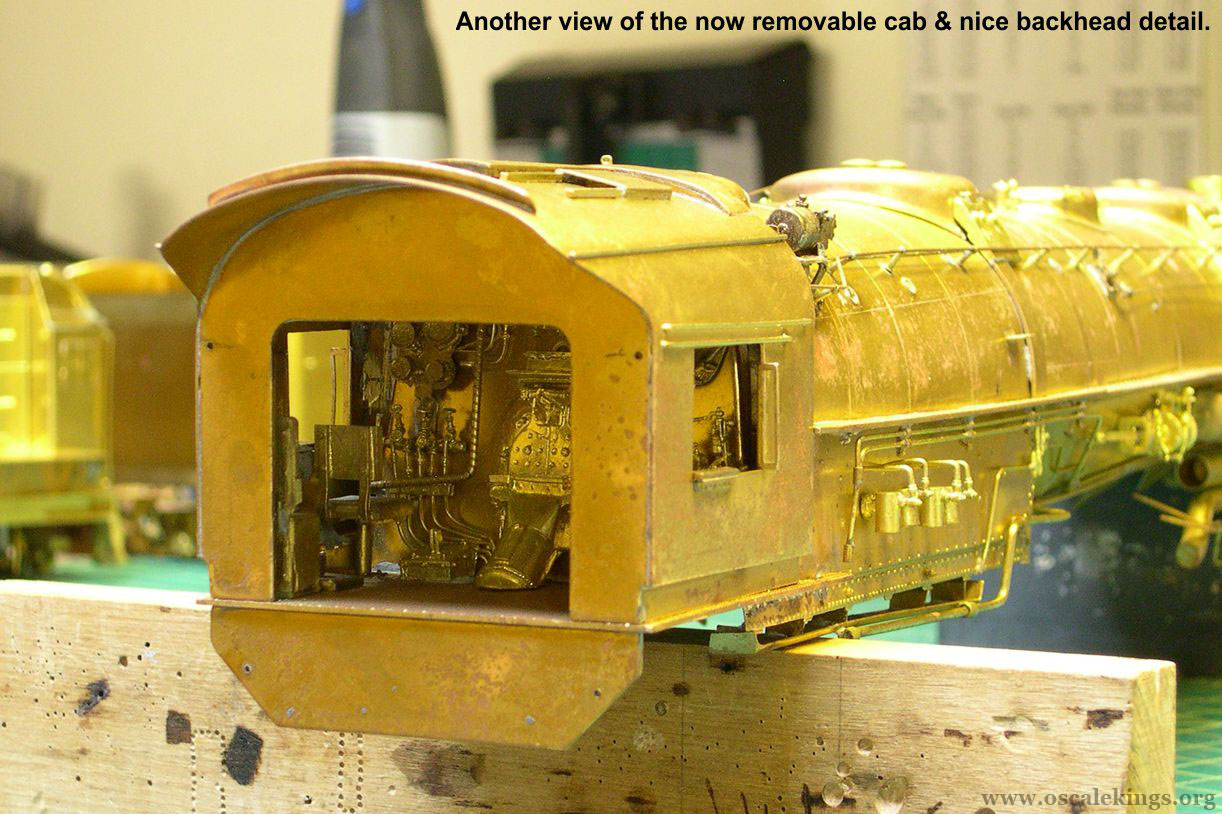
For some bizarre reason, there were mounting tabs soldered inside the cab, tapped for 2.6mm screws, holes in the cab floor, and even the screws for the mounting tabs. Don’t ask me why someone would bother with all that when the cab isn’t even removable, but maybe they had a premonition I would need all that stuff some day. If so, I thank them.